Using the Contacts app
The Contacts app is not enabled by default in Nextcloud latest and needs to be installed separately from our App Store.
The Nextcloud Contacts app is similar to other mobile contact applications, but with more functionality. Let’s run through basic features that will help you maintain your address book in the application.
Below, you will learn how to add contacts, edit or remove contacts, upload a contact picture and manage your Contact app address books.
Adding Contacts
When you first access the Contacts app, an empty default address book becomes available:
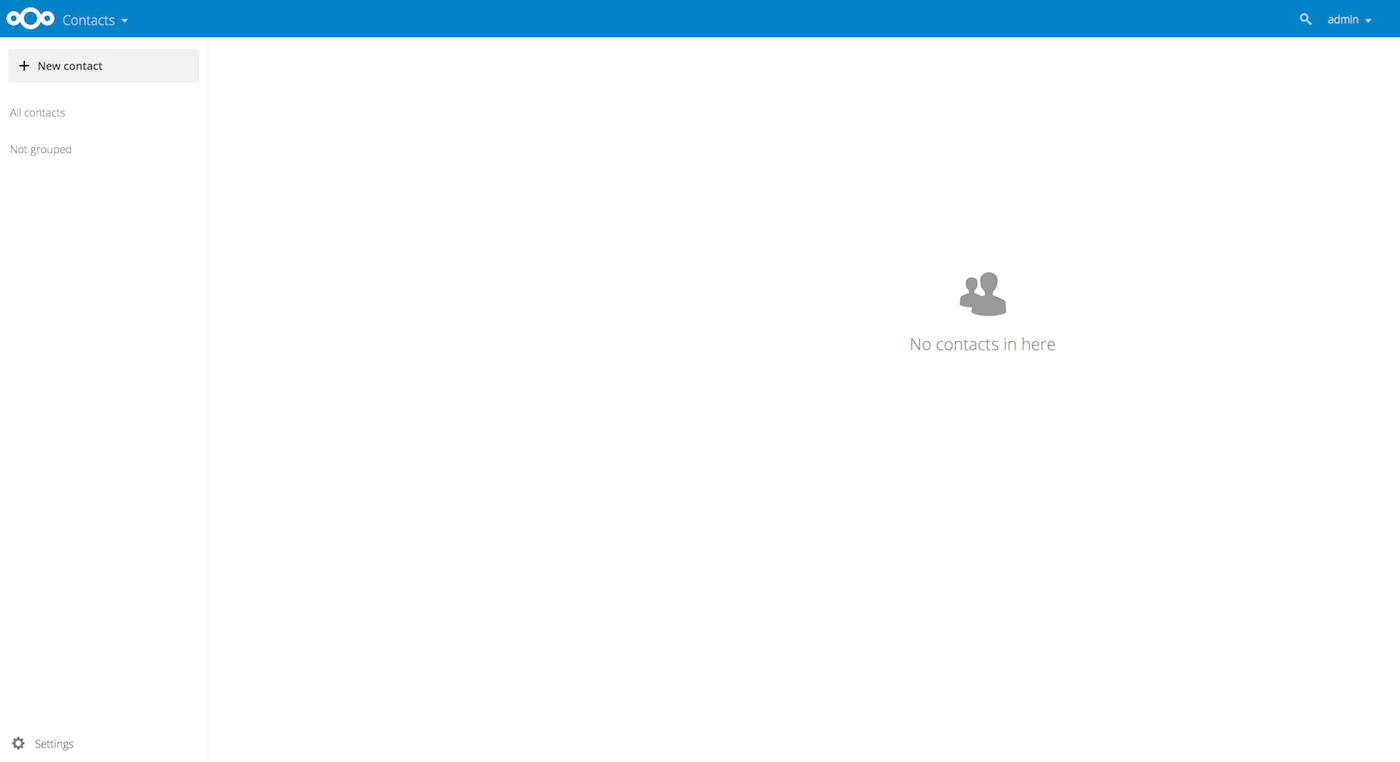
Default Address Book (empty)
To add contacts into your address book, you can use one of the following methods:
Import contacts using a Virtual Contact File (VCF/Vcard) file
Add contacts manually
The fastest way to add a contact is to use a Virtual Contact File (VCF/Vcard) file.
Importing Virtual Contacts
To Import Contacts Using a VCF/Vcard File:
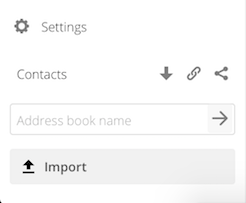
Find “Settings” at the bottom of the left sidebar, next to the gear button:

Click the gear button. The Contacts app “Import” button will appear:
Note
The Contacts app only supports import of vCards version 3.0 and 4.0.
Click the “Import” button and upload your VCF/Vcard file.
After the import is complete, you will see your new contact in your address book.
Adding Contacts Manually
If you can’t import virtual contacts, the Contacts app enables you to add contacts manually.
To Create a New Contact:
Click the
+ New contactbutton.An empty new contact configuration opens in the Application View field:
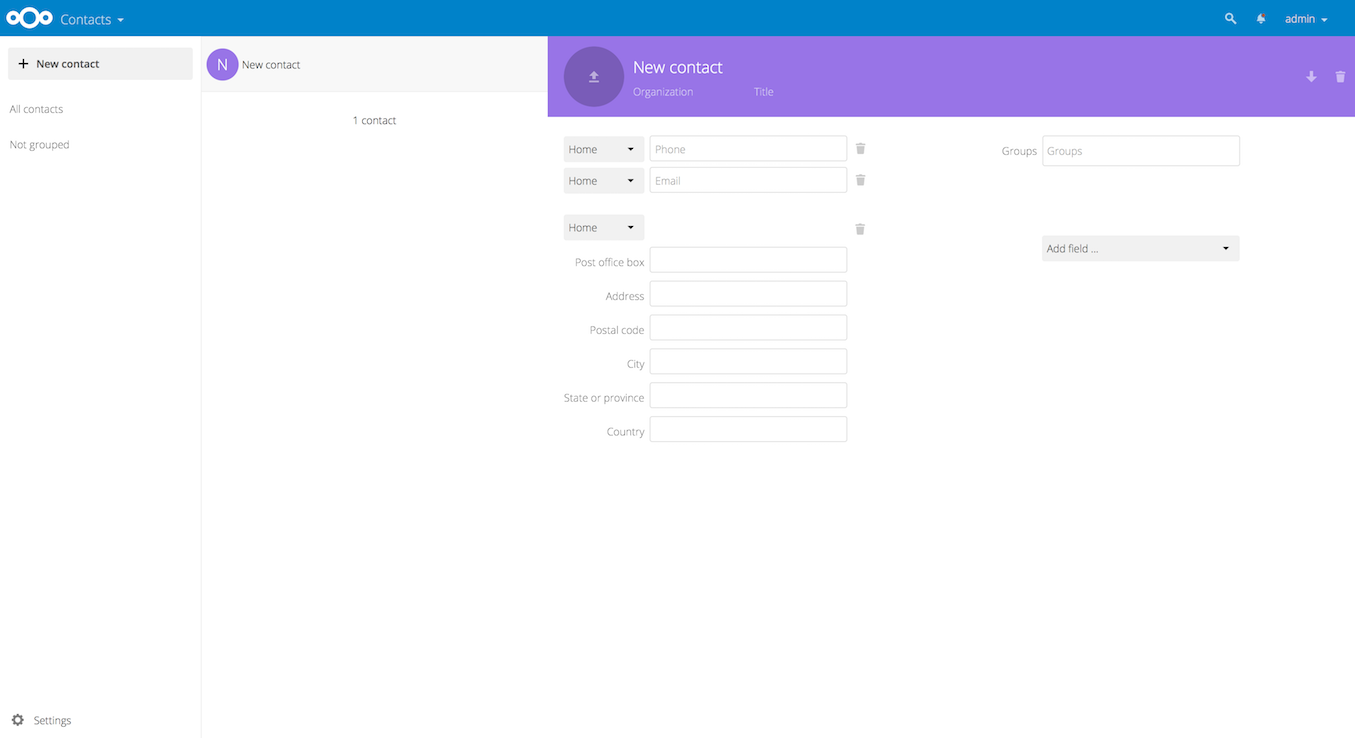
Specify the new contact information. Changes that you made are implemented immediately.
Edit or Remove Contact Information
The Contacts app enables you to edit or remove contact information.
To edit or remove contact information:
Navigate to the specific contact that you want to modify.
Select the information in the field that you want to edit or remove.
Make your modifications or click on the trash bin.
Changes or removals that you made to any contact information are implemented immediately.
Contact Picture
To add a picture for your new contacts, click on the upload button:

After you have set a contact picture, it will look like this:

If you want to upload a new one, remove it, view it in full size or download it, click on the contacts picture for the following options to appear:

Adding and Managing Address Books
Clicking on the “Settings” (gear) button at the bottom of the left sidebar provides access to Contacts app settings. This field shows all available address books, certain options for each address book, and enables you to create new address books, simply by specifying an address books name:
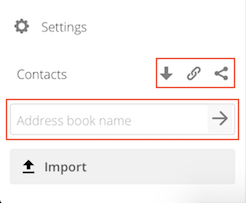
The Contacts settings is also where you can share, export and delete address books. You will find the CardDAV URLs there.
See Groupware for more details about syncing your address books with iOS, macOS, Thunderbird and other CardDAV clients.