설치
Download
You can download the latest version of the Nextcloud Desktop Synchronization Client from the Nextcloud download page. Clients are available for Linux, macOS, and Microsoft Windows.
소스 코드 아카이브와 이전 버전의 링크를 다운로드 페이지에서 찾을 수 있습니다.
Supported server versions
Each desktop client release supports the latest three stable Nextcloud server major versions at the time of release. See the Nextcloud Server release schedule for supported major versions.
시스템 요구사항
윈도우즈 10 이상 (64비트 전용)
macOS 12.0+ (64-bits only)
Linux (Ubuntu 24.04 or openSUSE 15.5 or Alma 8 or …) (64-bits only)
For Linux distributions, we support, if technically feasible, the current LTS releases. For BSD, we support them if technically feasible, but we do not test them.
참고
We do not support Citrix.
We will do our best to advise Citrix users from the desktop client point of view.
We will fix issues that are also reproducible on the standard supported systems.
Everything else is outside of our scope.
Install on macOS and Windows
Installation on macOS and Windows is the same as for any other software application: download the program and then double-click it to launch the installation, and then follow the installation wizard. After it is installed and configured the desktop client will automatically keep itself updated; see 자동 업데이터 for more information.
For administrator-focused deployment options such as advanced Windows MSI configuration, non-interactive account provisioning, and command-line wizard preconfiguration, see the Admin Manual chapter on desktop client deployment and setup.
Install on Linux
For Linux, Nextcloud officially provides the desktop client as an AppImage on the Nextcloud download page.
Some Linux distributions also provide the Nextcloud desktop client through their package managers. These packages are maintained by the distribution or community, not by Nextcloud. If you prefer a package-managed installation, refer to your distribution’s documentation.
Linux users must also have a password manager enabled, such as GNOME Keyring or KWallet, so that the desktop client can log in automatically.
Initial Setup
After installation, the initial setup wizard is triggered. In the setup wizard, you can log in to your server, create an account with a provider, and configure which folders to sync. The wizard will guide you step-by-step through the essential configuration options and basic account setup.
First, you need to enter the URL of your Nextcloud server.
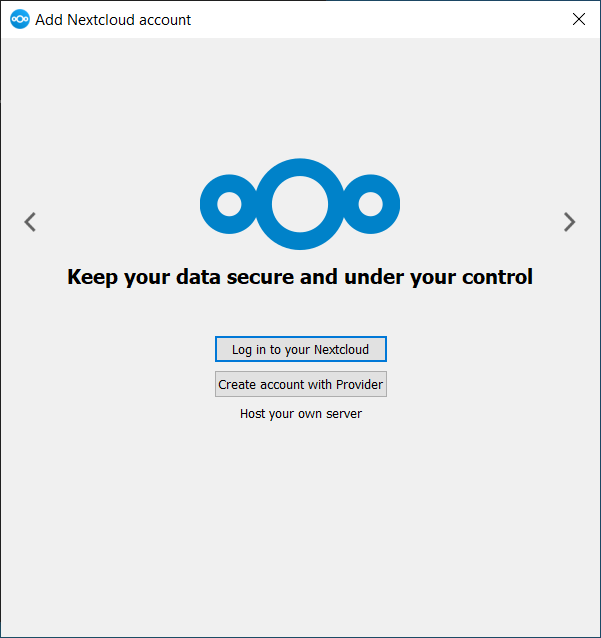
If you already have an account on a Nextcloud instance, click Login to your
Nextcloud. If you do not yet have a Nextcloud instance or an account, you may
need to create one first. Alternatively, you might want to register an account
with a provider. Press Create account with Provider in that case.
참고
The desktop client build you are using may have been built without provider support. In that case, you won’t see this page and will immediately see the next page.
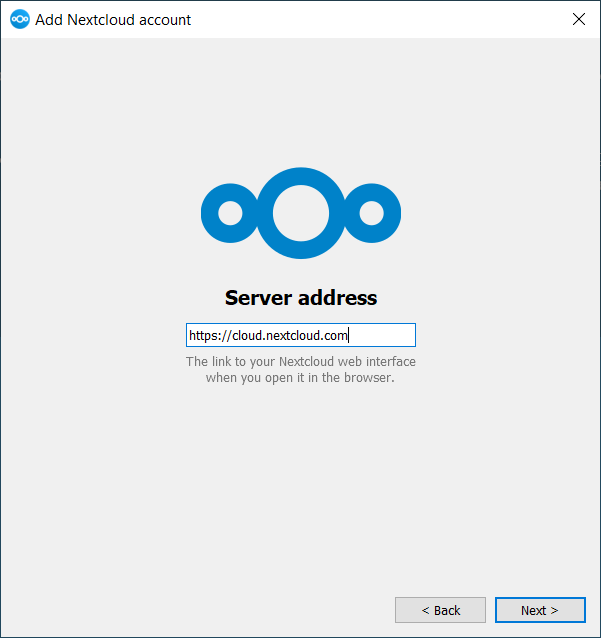
Nextcloud 인스턴스의 URL를 입력하십시오. URL은 Nextcloud 인스턴스에 접근하려고 할 때 브라우저에서 입력하는 URL과 동일합니다.
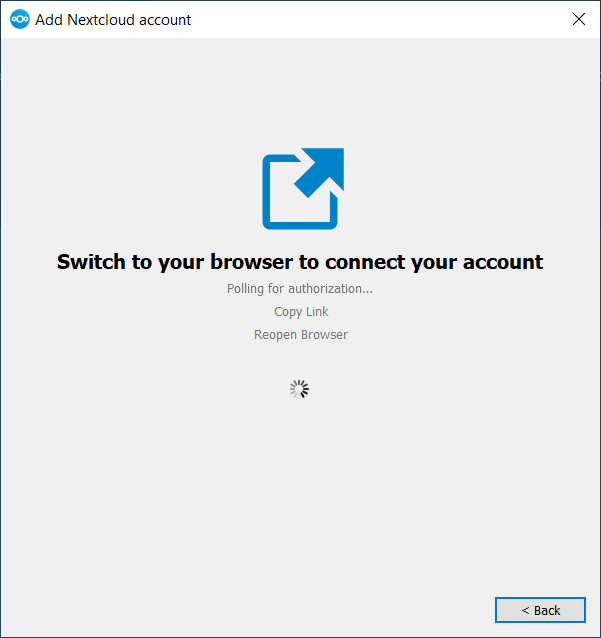
Now your web browser should open and prompt you to log in to your Nextcloud instance. Enter your username and password in your web browser and click Grant access when prompted. After you do that, go back to the wizard.
참고
You might not need to enter your username and password if you are already logged in to your web browser.
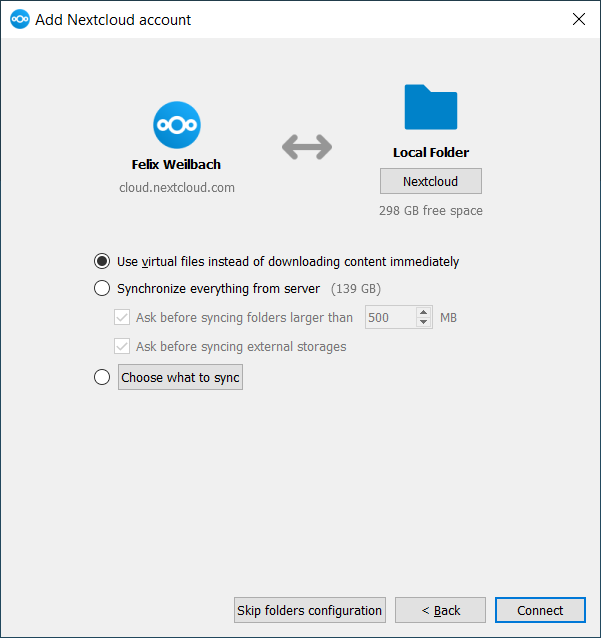
로컬 폴더 옵션에서 Nextcloud 서버의 모든 파일을 동기화하거나 개별 폴더를 선택할 수 있습니다. 기본 로컬 동기 폴더는 홈 디렉토리의 Nextcloud 입니다. 이것도 변경할 수 있습니다.
When you have completed selecting your sync folders, click the Connect button. The client will attempt to connect to your Nextcloud server. If it is successful, the wizard will close itself. You can then observe the sync activity and open the main dialog by clicking on the tray icon.