Gelmişmiş Konuş özellikleri
Nextcloud Konuş uygulamasında kullanıcıların yararlı bulabileceği bazı gelişmiş özellikler bulunur.
Notifications and privacy
By default, Nextcloud Talk will notify you about:
New messages in private conversations;
Replies to messages you sent;
Messages mentioning you or group/team you are member of;
Started calls in conversations you are part of.
You can change this behavior in the conversation settings. Additionally, you can configure:
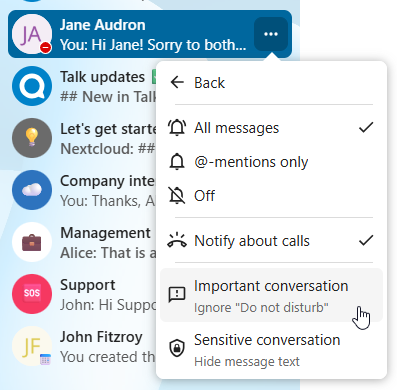
Important conversations: you will be always notificed about new messages, even if you are in “Do Not Disturb” mode;
Sensitive conversations: content of messages will not be shown in the conversation list and obscured from notifications.
To have more control over your privacy, you can also configure the visibility of your typing and read indicators in Talk settings:

Matterbridge
Nextcloud Konuş Matterbridge bütünleştirmesi, Konuş görüşmeleri ile MS Teams, Discord, Matrix ve diğerleri gibi diğer hizmetlerdeki görüşmeler arasında ‘köprüler’ oluşturabilir. Desteklenen iletişim kurallarının listesini Matterbridge github sayfasında bulabilirsiniz. <https://github.com/42wim/matterbridge#features>`_
Bir sorumlu, sohbet görüşmesi ayarlarına bir Matterbridge bağlantısı ekleyebilir.
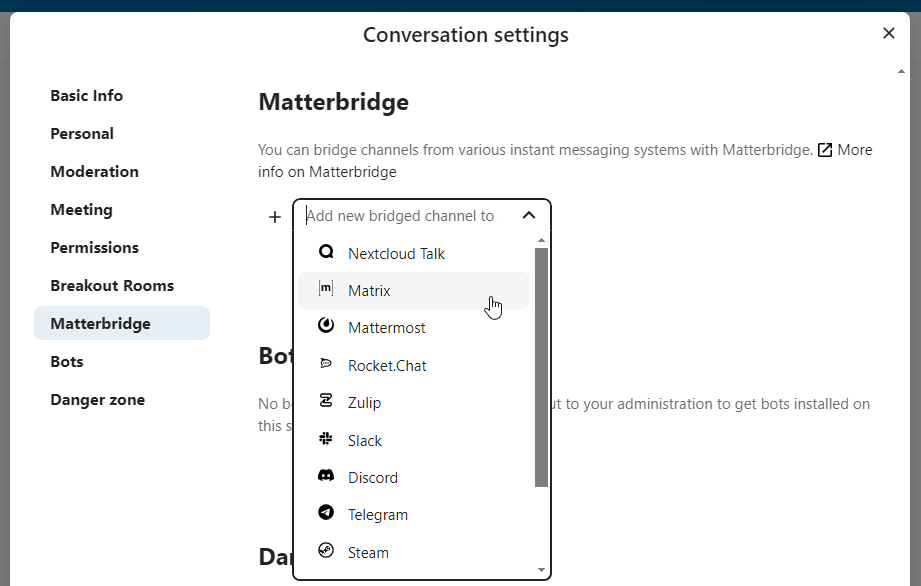
Köprülerin her birinin kendi özel yapılandırması vardır. Çoğu için bilgi Matterbridge wiki üzerinde bulunabilir ve ... menüsündeki ayrıntılı bilgiler menüsünden erişilebilir. Ayrıca wiki sayfasına doğrudan erişebilirsiniz. <https://github.com/42wim/matterbridge/wiki>`_
Giriş
Giriş özelliği, konuklara çağrı başlayana kadar bir bekleme ekranı görüntülemenizi sağlar. Bu özellik, dış katılımcıların olduğu internet seminerleri gibi uygulamalar için idealdir.
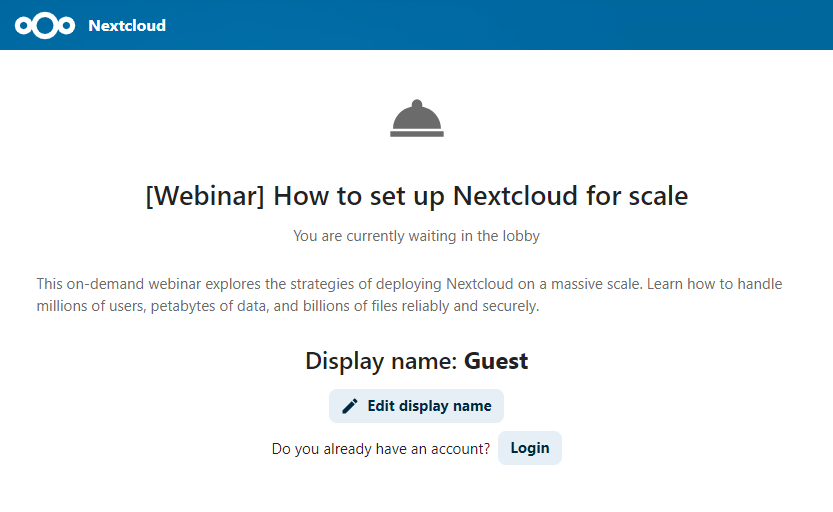
Katılımcıların belirli bir zamanda ya da girişi el ile kapattığınızda çağrıya katılmasına izin verebilirsiniz.
Komutlar
Nextcloud, kullanıcıların komutları kullanarak işlemler yapmasını sağlar. Bir komut genellikle şöyle görünür:
/wiki airplanes
Yöneticiler komutları yapılandırabilir, kullanıma alabilir ve kullanımdan kaldırabilir. Kullanıcılar hangi komutların kullanılabileceğini öğrenmek için help komutunu kullanabilir.
/help
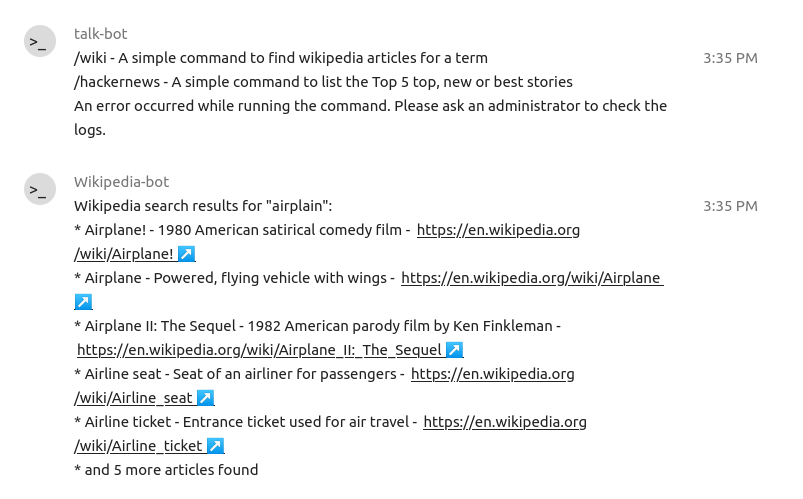
Konuş yönetici belgelerinde ayrıntılı bilgiler bulabilirsiniz
Dosyalar ile Konuş
Dosyalar uygulamasında kenar çubuğundaki dosyalar ile ilgili sohbet edebilir, dosyayı düzenlerken bir çağrı yapabilirsiniz. Önce sohbete katılmanız gerekir.
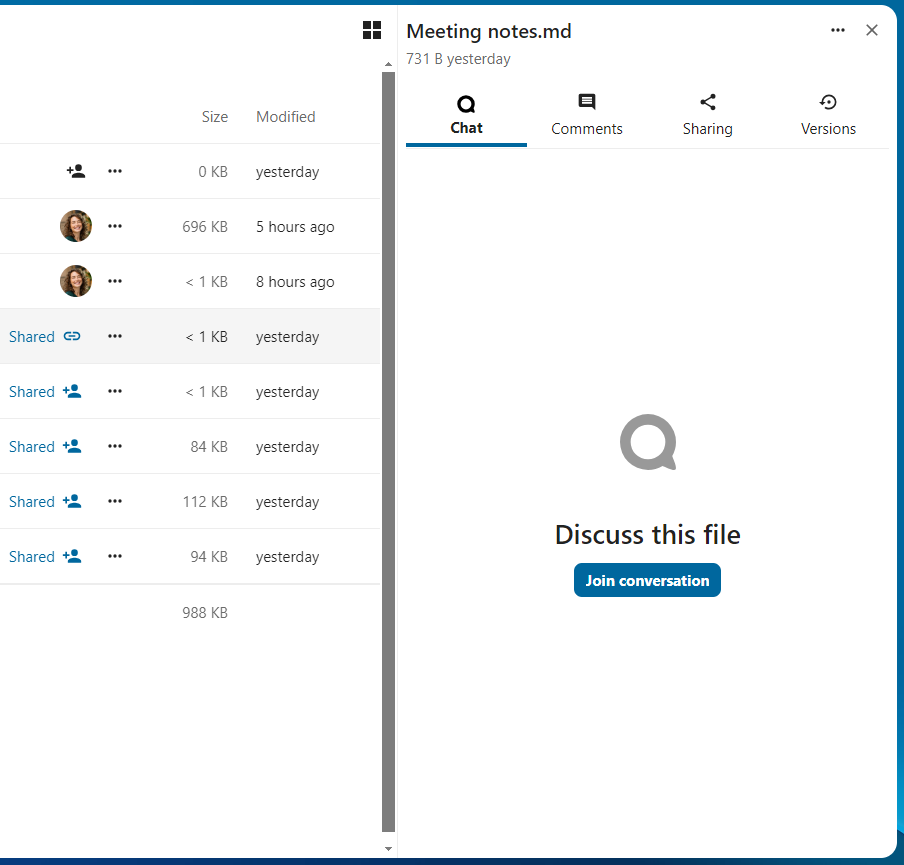
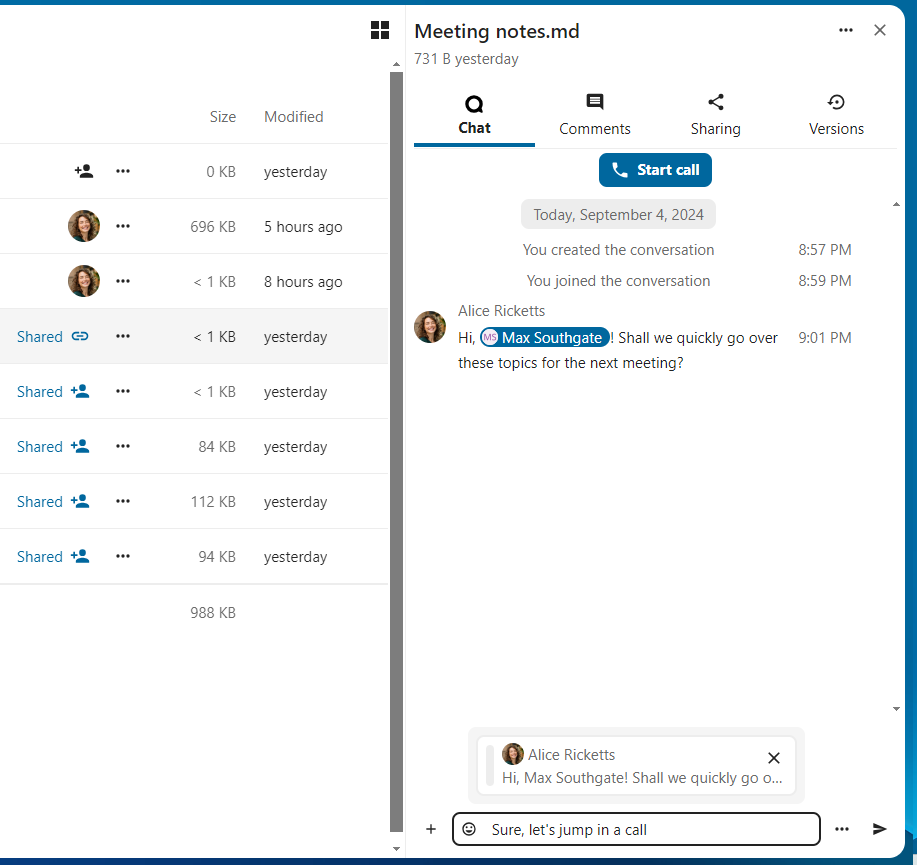
Ardından, dosyayı düzenlemeye başladığınızda bile diğer katılımcılarla sohbet ya da çağrı yapabilirsiniz.
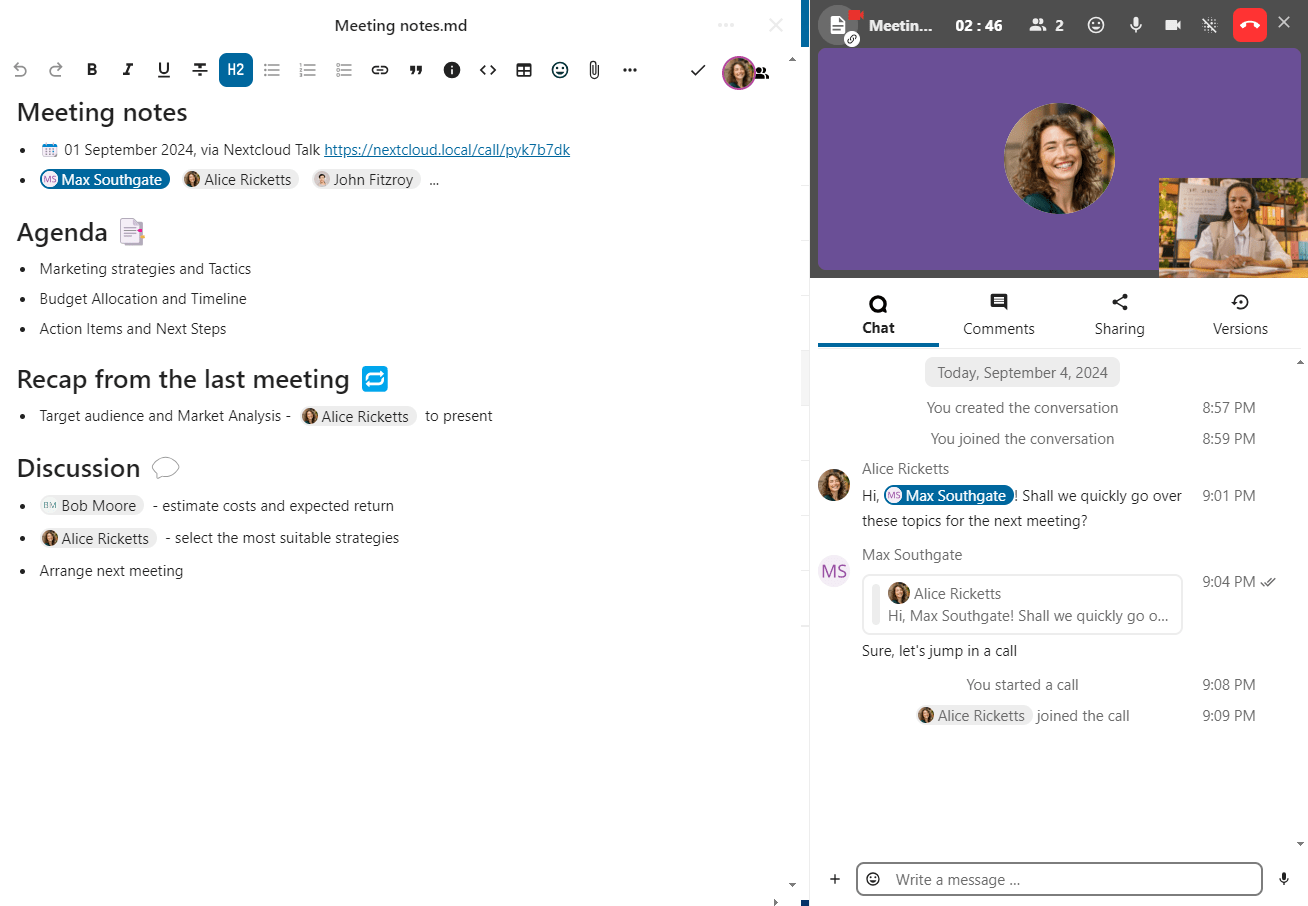
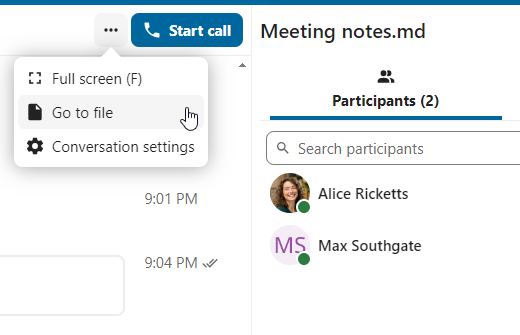
Konuş içinde dosya için bir görüşme oluşturulur. Oradan sohbet edebilir ya da sağ üstteki ... menüsünü kullanarak dosyaya geri dönebilirsiniz.
Meetings and events
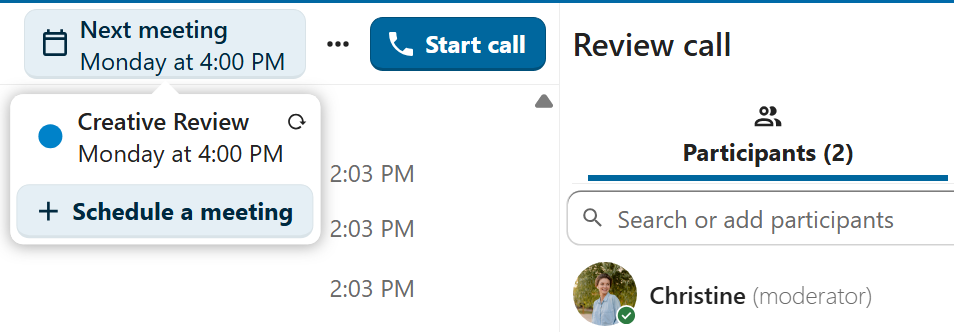
If calendar events have a Talk conversation set as event location, you will see an information about upcoming events inside of this conversation. That way you can stay informed about scheduled meetings or activities directly within your chat. If Calendar app is enabled, you can click on an event to view details.
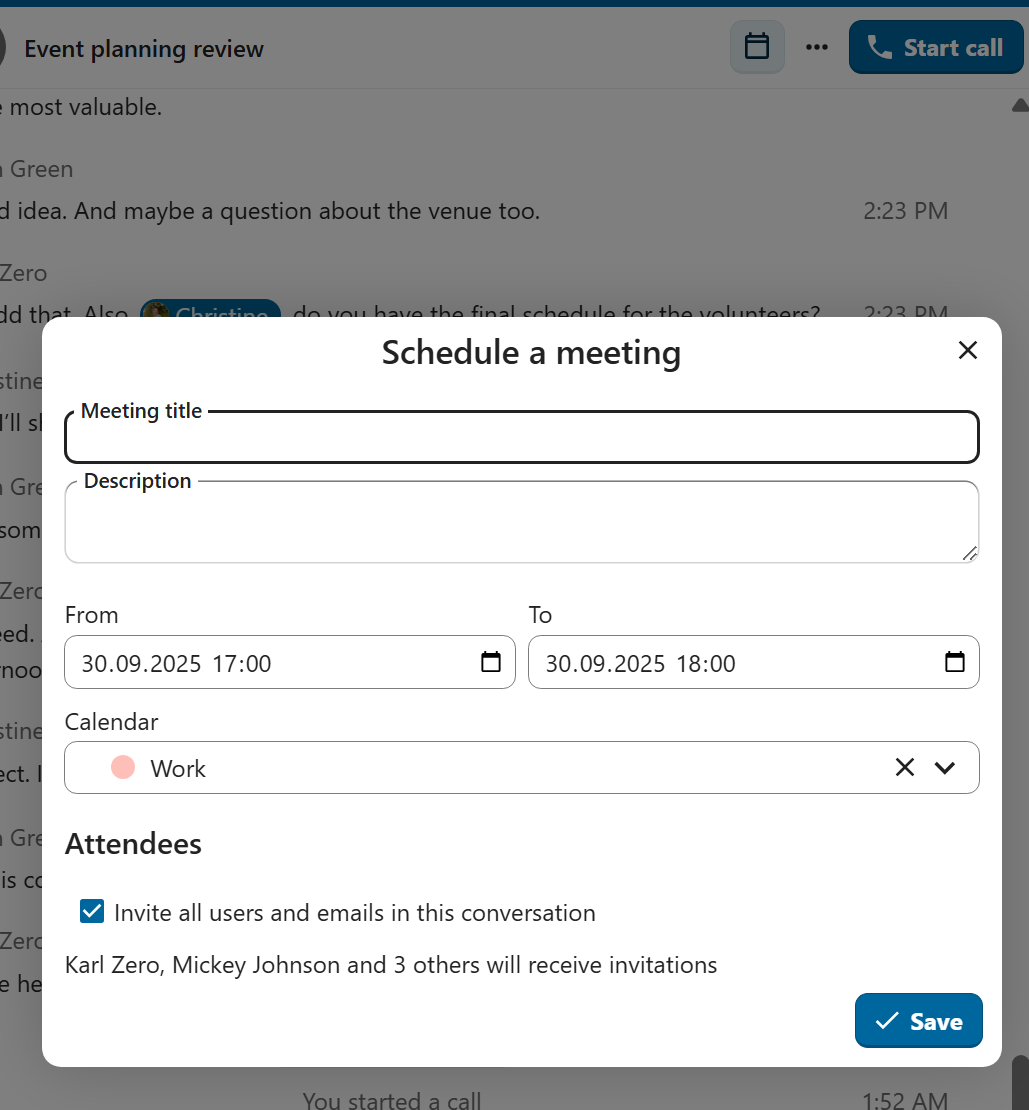
It is possible to schedule a meeting directly from a conversation. In the dialog, you can set meeting details such as title, date, time and description. You can also choose to invite all participants including email guests, or select specific ones.
Schedule from Calendar
When creating a new event in Calendar, you can set a Talk conversation as event location. This will create a new conversation if one does not exist yet.

When the event is created, you will see a link to the conversation in the event details. Conversation will also show up in the list of conversations (discoverable by Events filter).
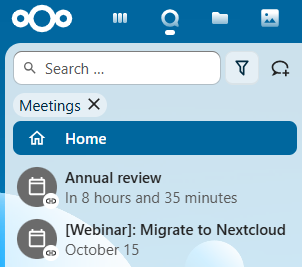
Like instant meetings, event conversations will be automatically deleted after configured period of inactivity (by default 28 days).
Çalışma odaları
Çalışma odaları, daha odaklanmış tartışmalar için bir Nextcloud Konuş çağrısını daha küçük gruplara ayırmanızı sağlar. Görüşmenin sorumlusu birden fazla çalışma odası oluşturabilir ve her odaya katılımcılar atayabilir.
Not
Çalışma odaları, şu anda konuklar tarafından girilebilen konuşmalarda (herkese açık konuşmalar) kullanılamaz.
Çalışma odalarını yapılandırmak
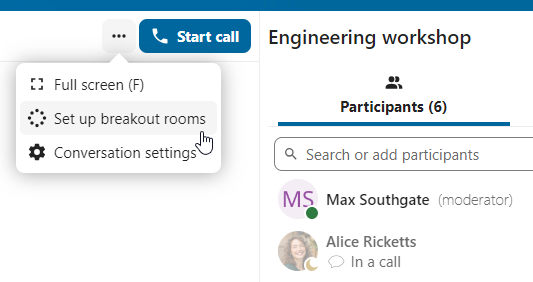
Çalışma odalarını oluşturmak için bir grup görüşmesinde sorumlu olmanız gerekir. Üst çubuk menüsüne tıklayın ve “Çalışma odalarını hazırla” üzerine tıklayın.
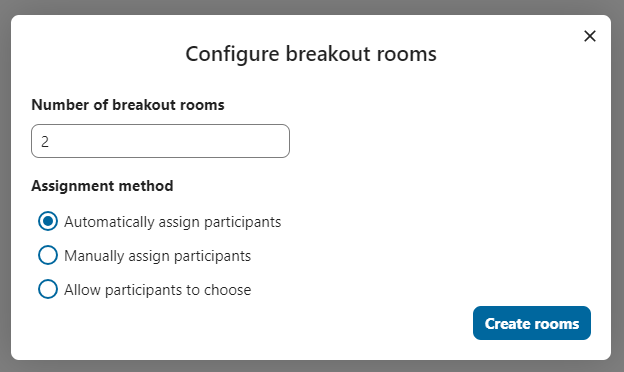
Oluşturmak istediğiniz oda sayısını ve katılımcı atama yöntemini belirtebileceğiniz bir pencere açılır. Burada size 3 seçenek sunulur:
Katılımcılar otomatik olarak dağıtılsın: Konuş, katılımcıları odalara otomatik olarak dağıtır.
Katılımcılar el ile dağıtılsın: Katılımcıları odalara dağıtabileceğiniz bir katılımcı düzenleyicisini kullanacaksınız.
Katılımcılar oda seçebilsin: Katılımcılar çalışma odalarını kendileri seçebilir.
Çalışma odalarını yönetmek
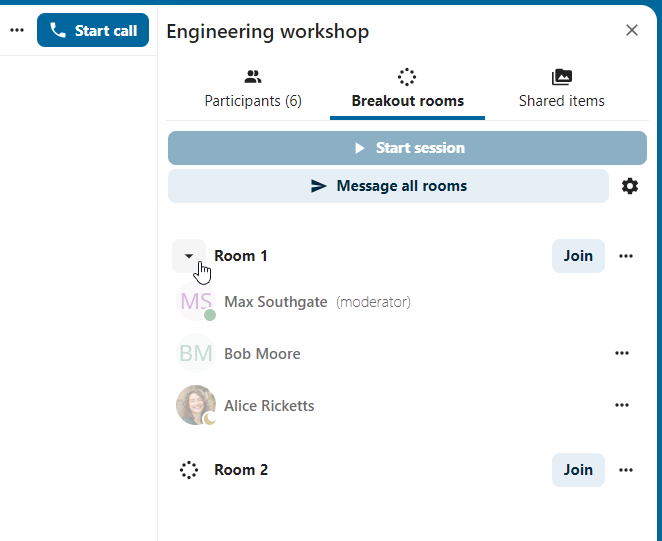
Çalışma odaları oluşturulduktan sonra, bunları kenar çubuğunda görebilirsiniz.
Kenar çubuğu başlığından
Çalışma odalarını açma ve kapatma: Bu seçenek, ana görüşmedeki tüm kullanıcıları ilgili çalışma odalarına taşır.
Tüm odalara bir ileti gönder: Bu seçenek, tüm odalara aynı anda bir ileti gönderir.
Dağıtılmış katılımcıları değiştir: Bu seçenek, hangi katılımcıların hangi çalışma odasında bulunacağını değiştirebileceğiniz katılımcı düzenleyicisini açar. Aynı zamanda bu pencereden çalışma odaları silinebilir.

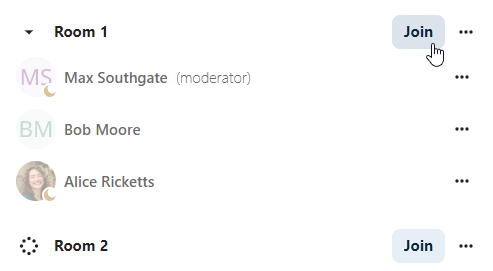
Ayrıca kenar çubuğundaki çalışma odası ögesinden belirli bir çalışma odasına katılabilir ya da belirli bir odaya ileti gönderebilirsiniz.
Çağrı kaydetme
Kayıt özelliği, kullanıcılara şunları yapma fırsatı sunar:
Çağrı sırasında kayıtları başlatma ve durdurma.
Konuşmacının görüntü ve ses akışı ile ekran paylaşımını kaydetme.
İleride başvurmak veya dağıtmak için kaydedilmiş dosyalara erişme, paylaşma ve indirme.
Bu özelliği açmak, sistem yönetimi tarafından kayıt sunucusunun kurulmasını gerektirir.
Bir kaydı yönetmek
Görüşmenin sorumlusu, bir arama başlangıcıyla birlikte veya bir arama sırasında herhangi bir zamanda bir kayıt başlatabilir:
Çağrıdan önce: “Ortam ayarları” bölümünden “Kayıt çağrı başlangıcında başlatılsın” kutusunu işaretleyin. Ardından “Çağrıyı başlat” üzerine tıklayın.
Çağrı sırasında: Üst çubuk menüsüne tıklayın, ardından “Kaydı başlat” üzerine tıklayın.
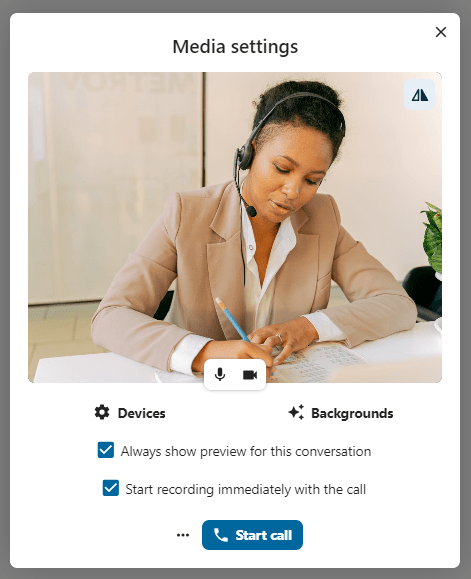
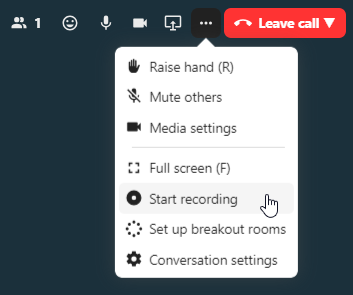
Kayıt kısa süre içinde başlar ve çağrı süresinin yanında kırmızı bir işaret görüntülenir. Çağrı sürerken, bu işarete tıklayıp “Kaydı durdur” seçerek veya üst çubuk menüsündeki aynı işlemi kullanarak kaydı istediğiniz zaman durdurabilirsiniz. Kaydı el ile durdurmazsanız, çağrı sona erdiğinde otomatik olarak durdurulur.

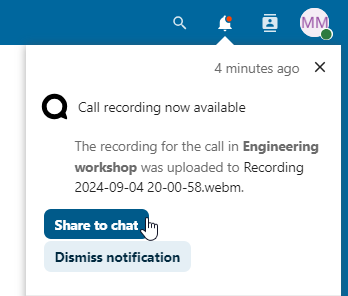
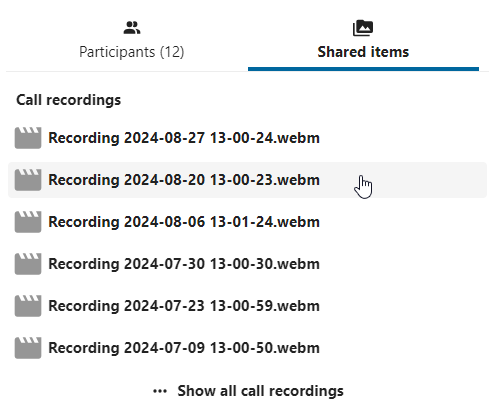
Bir kaydı durdurduktan sonra, sunucunun kaydedilen dosyayı hazırlaması ve kaydetmesi biraz zaman alır. Dosya yüklendiğinde, kaydı başlatan sorumluya bir bildirim gönderilir. Oradan sohbet içinde paylaşılabilir.
Kayıt rızası
Çeşitli kişisel gizlilik haklarına uyumlu olmak için, çağrıya katılmadan önce katılımcılardan kayıt alınacağı ile ilgili rızaları istenebilir. Sistem yönetiminin, bu özelliği çeşitli şekillerde kullanma esnekliği vardır:
Rıza istenmesini tümüyle kapatmak.
Tüm konuşmalar için rıza alınmasını zorunlu kılan zorunlu rızayı sistem genelinde açmak.
Sorumluların bu seçeneği bir görüşme düzeyinde yapılandırmasına izin vermek. Bu gibi durumlarda, sorumlular bu seçeneği şuna göre yapılandırmak için görüşme ayarlarına erişebilir:
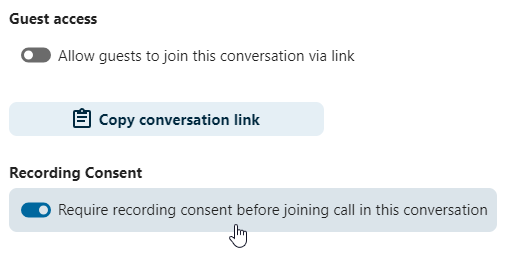
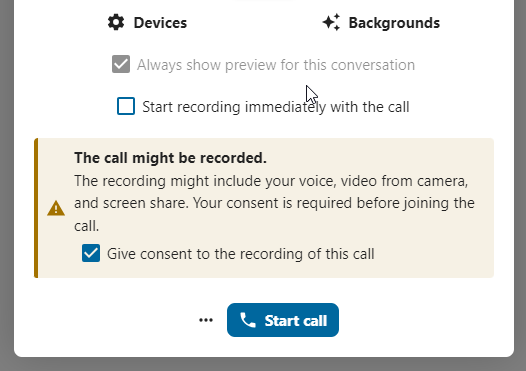
Kayıt rızası açıldığında, sorumlularla birlikte her katılımcı, bir çağrıya katılmadan önce “Ortam ayarları” altında vurgulanan bir bölüm görecektir. Bu bölüm, katılımcılara görüşmenin kaydedilebileceği ile ilgili bilgi verir. Kayıt alınmasına açık rıza vermek için katılımcıların kutuyu işaretlemesi gerekir. Rıza vermeyenler çağrıya katılamazlar.
Birleşik görüşme
Birlik özelliği ile kullanıcılar, farklı birleşik Konuş kopyalarında görüşmeler oluşturabilir ve Konuş özelliklerini aynı sunucudaymış gibi kullanabilir.
Özelliğin sistem yönetimi tarafından kurulması gerekir.
Davetleri göndermek ve kabul etmek
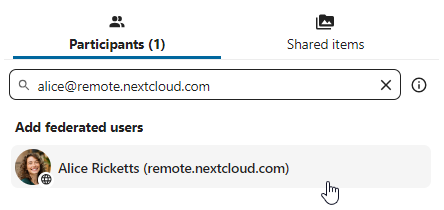
Görüşmenin sorumlusu, farklı bir sunucudaki katılımcıya bir davet gönderebilir:
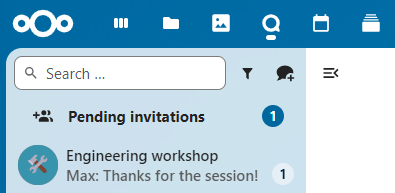
Bir bildirim alındığında, kullanıcı görüşme listesinin üzerinde bekleyen davetlerin sayacını görür.
Buna tıklandığında, davet edilen taraf ile ilgili daha fazla bilgi görüntülenir ve kullanıcı daveti kabul edebilir veya reddedebilir.

Davet kabul edildiğinde, görüşme listede diğerleri gibi görüntülenir.
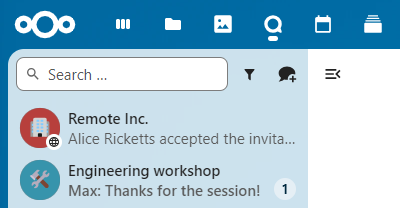
You can use it further to chat with participants from other federated servers, join calls and use other available Talk features.
Chat summary
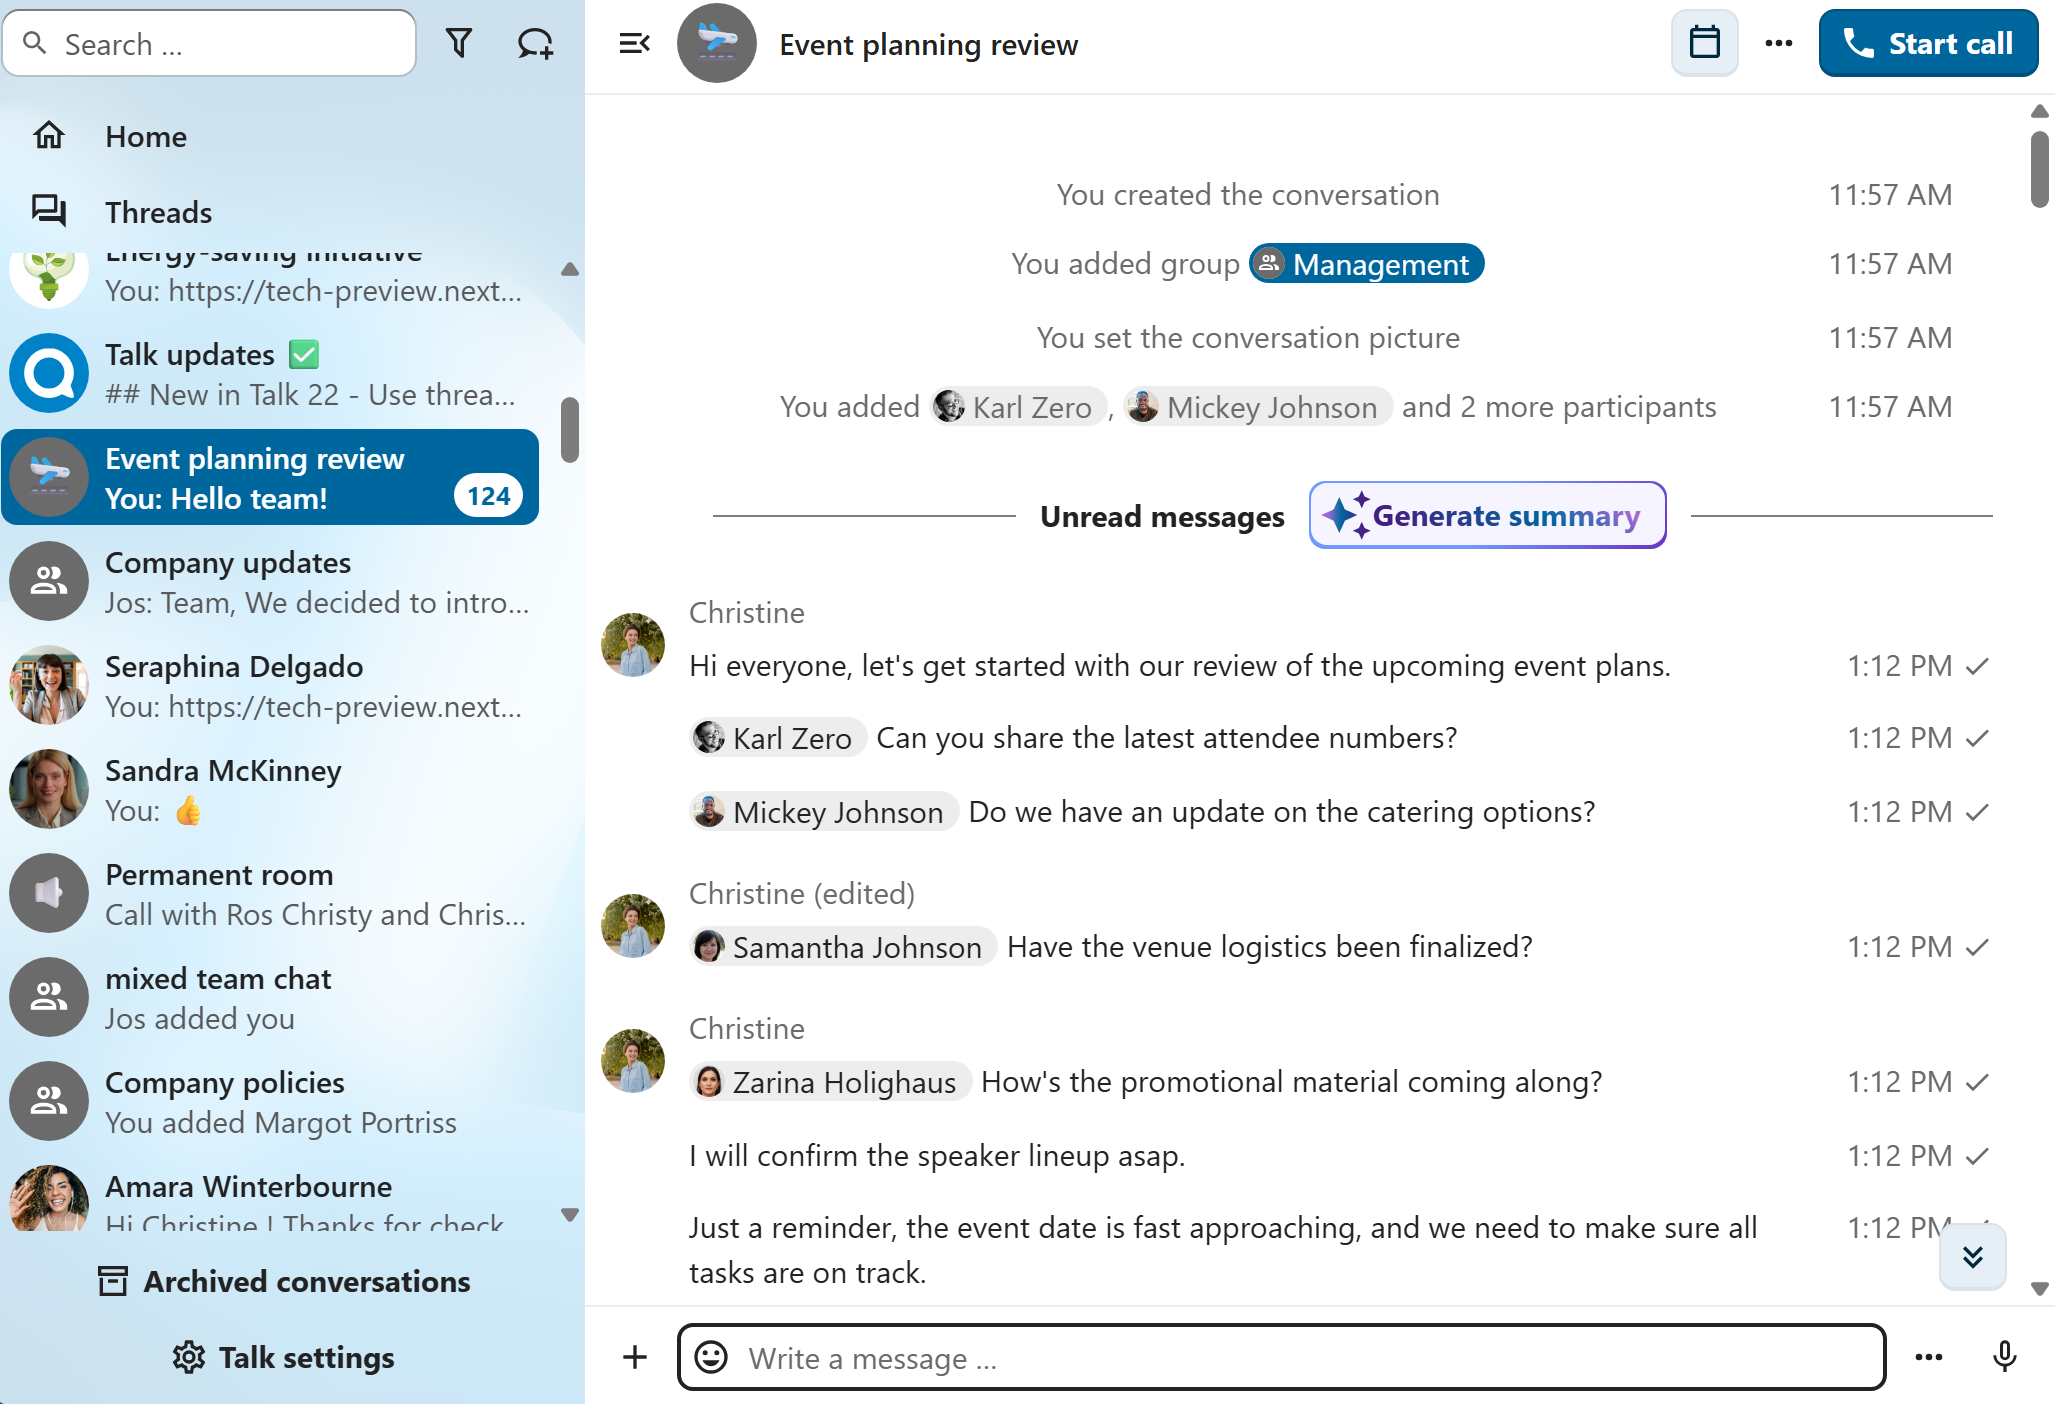
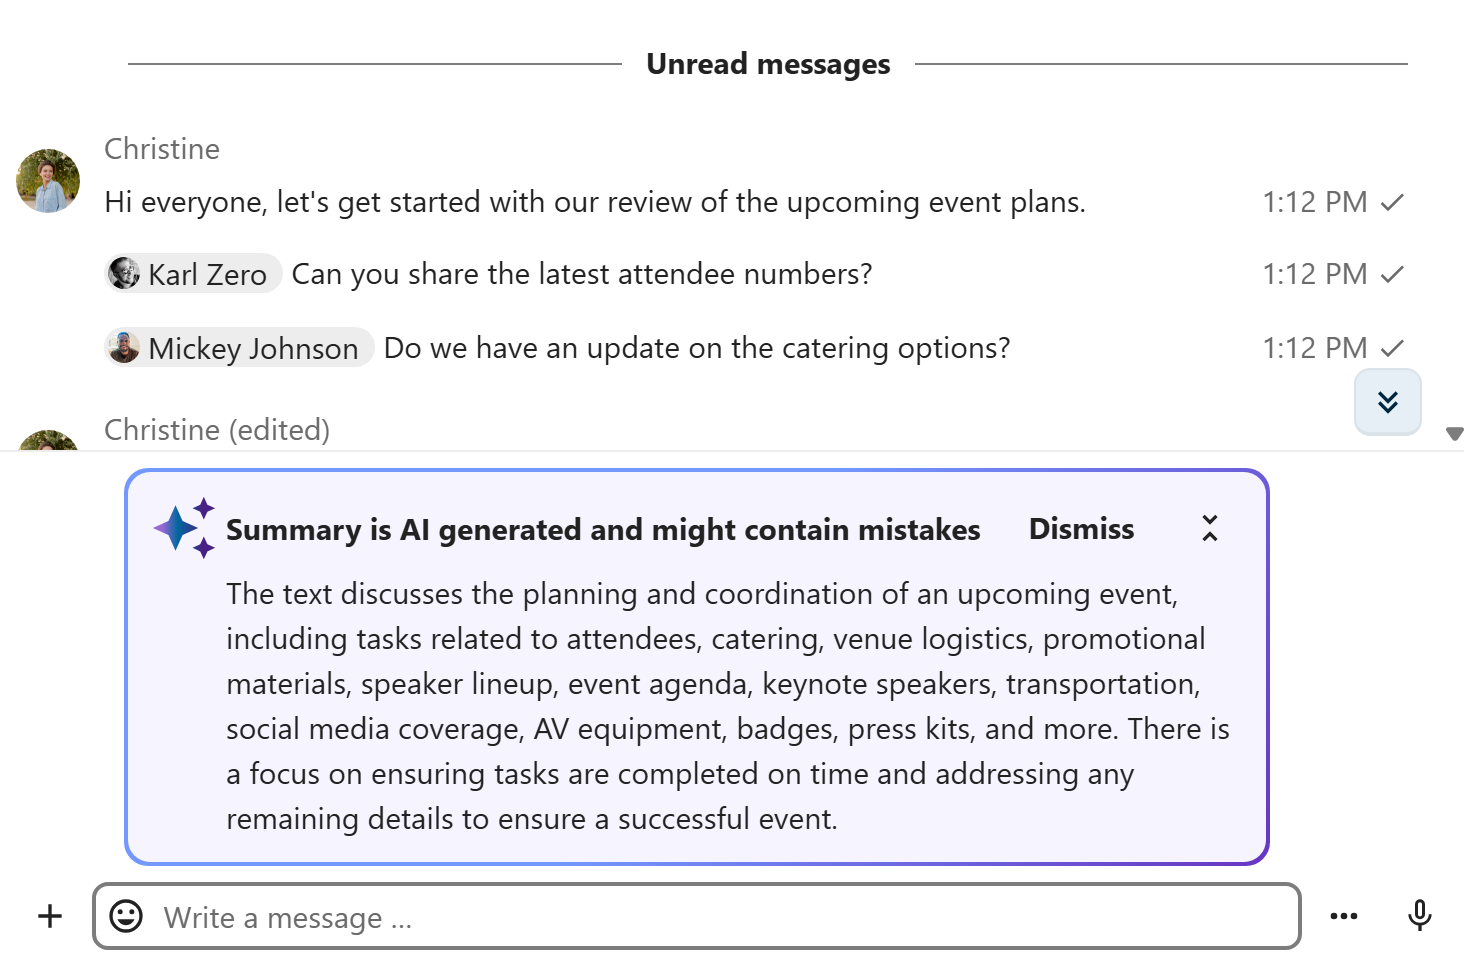
When AI assistant is enabled, a summary can be generated if there are more than 100 unread messages. You can generate it by pressing the button that is visible in chat above the first unread messages.
Call live transcription
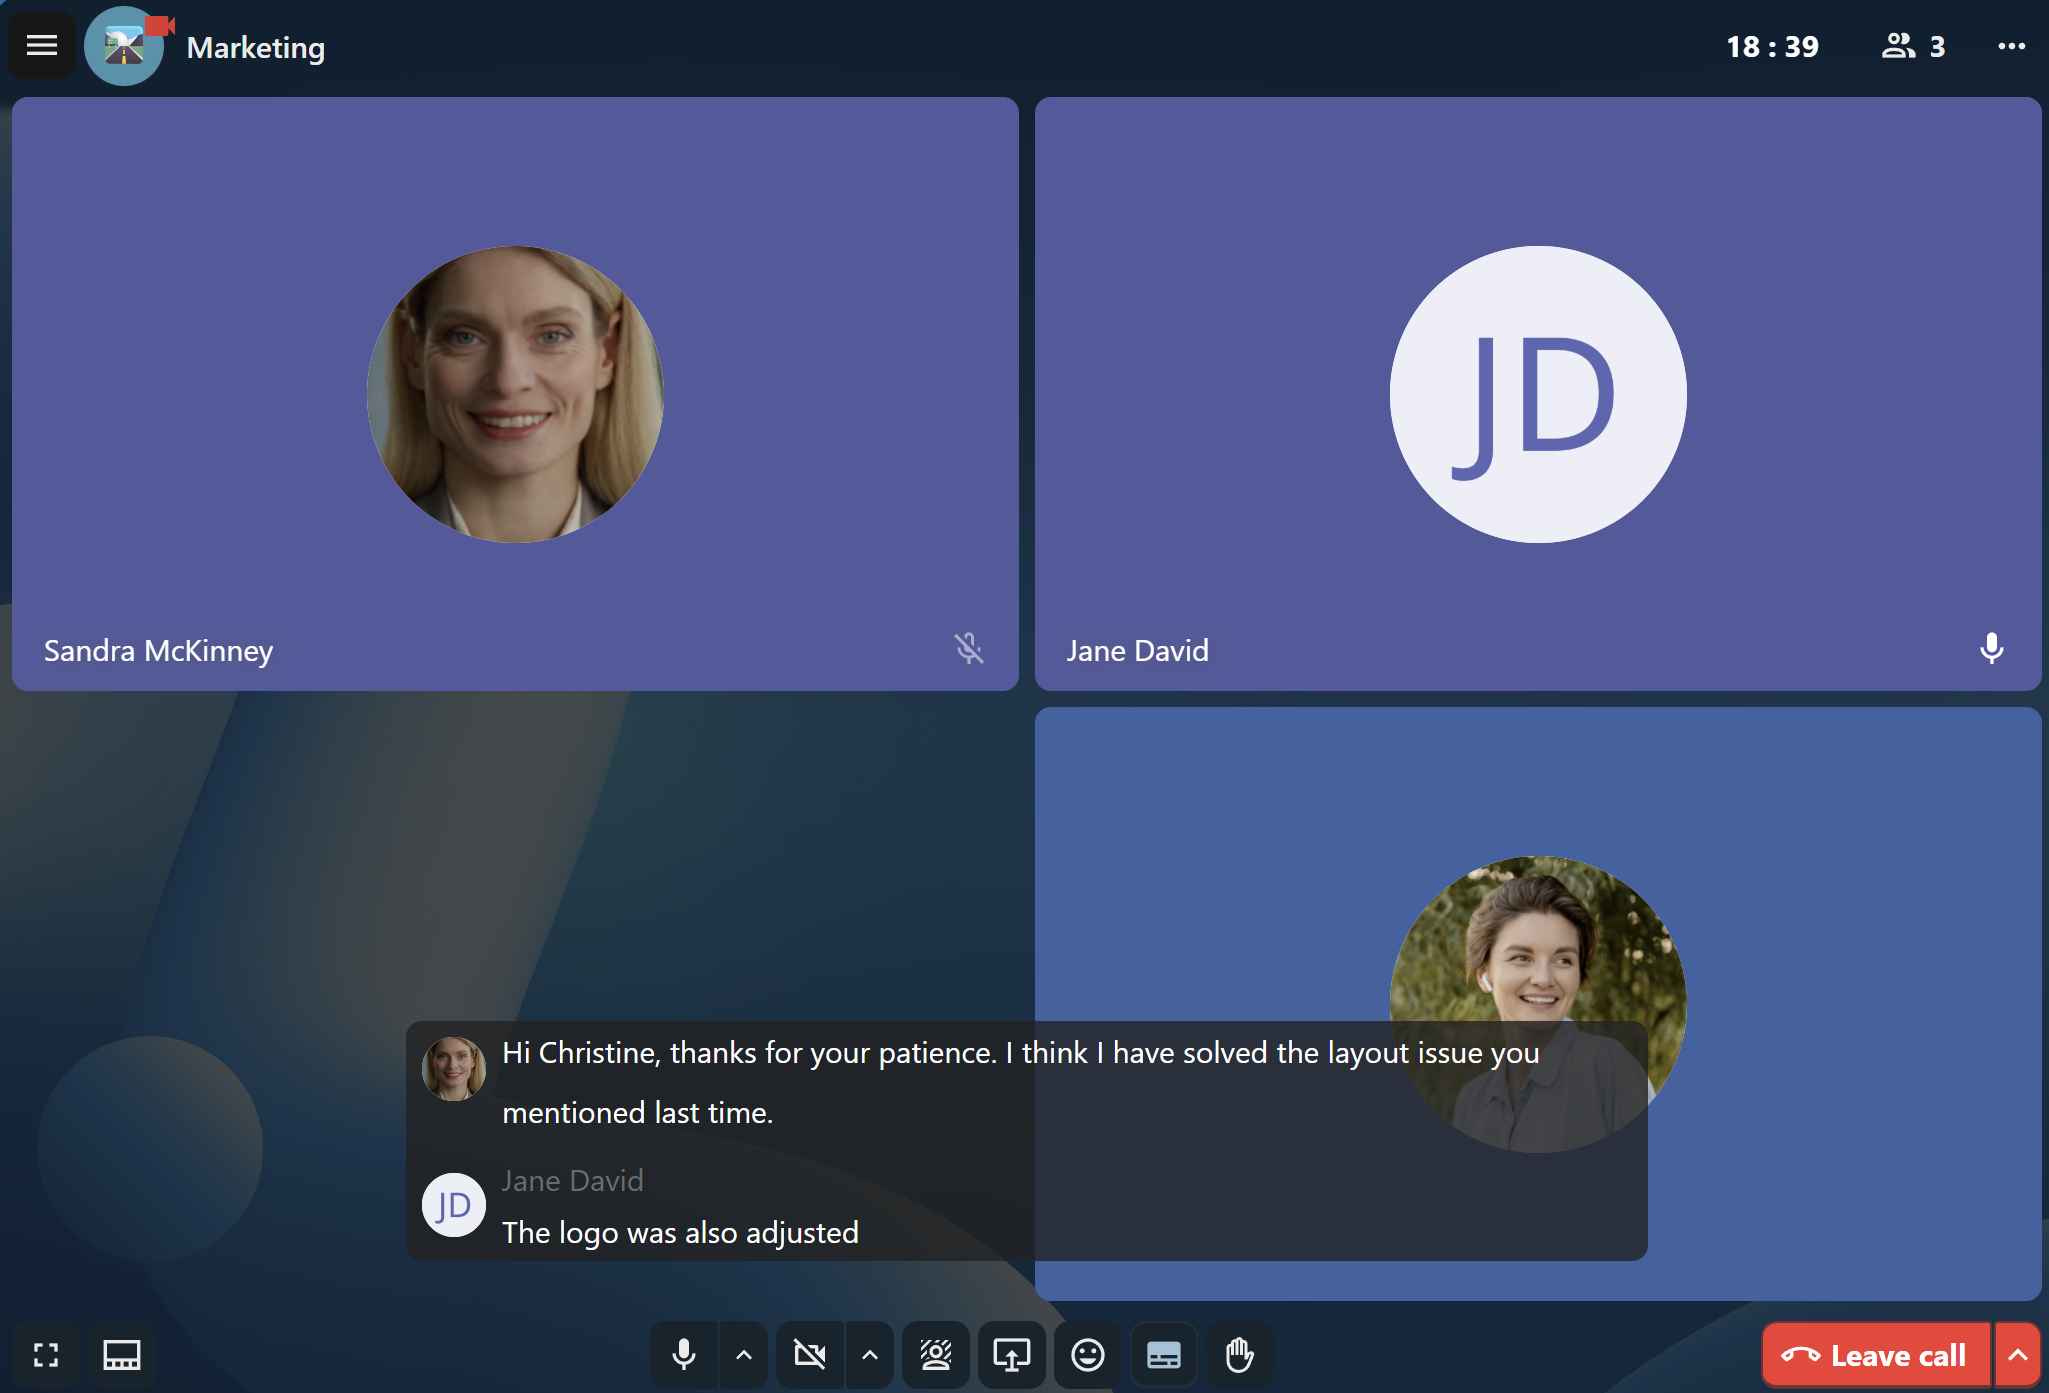
Call live transcription allows to transcribe the speech in real-time during a call. It is set up by the system administration (High-performance backend and Live Transcription App are required). Moderators need to set the language of the transcription in the conversation settings. All participants then can enable or disable the transcription for themselves in the call bottom bar. When enabled, the transcription will appear in the bottom and will be updated in real-time.
