Synkronisere med macOS
Sett opp kontoene dine
In the following steps you will add CalDAV (Calendar) and CardDAV (Contacts) to your macOS integrated Calendar and Contacts applications. At the time of writing this guide, macOS is at version 26.3.1.
Click on the Apple logo in the top left corner of your screen and select System Settings… from the dropdown menu.
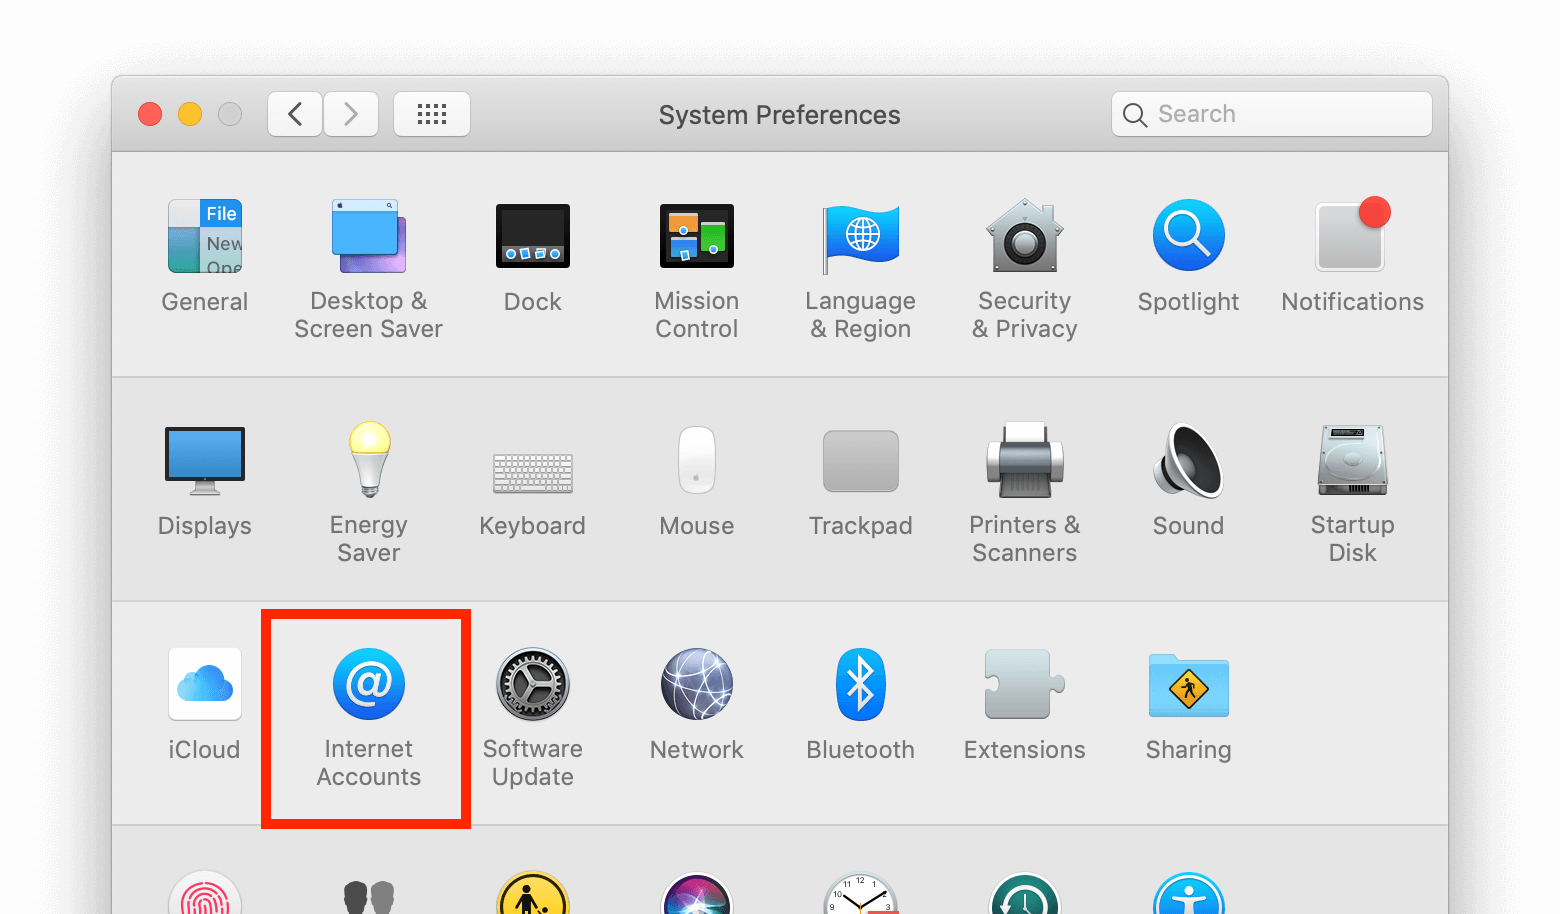
Naviger til Internett-kontoer:
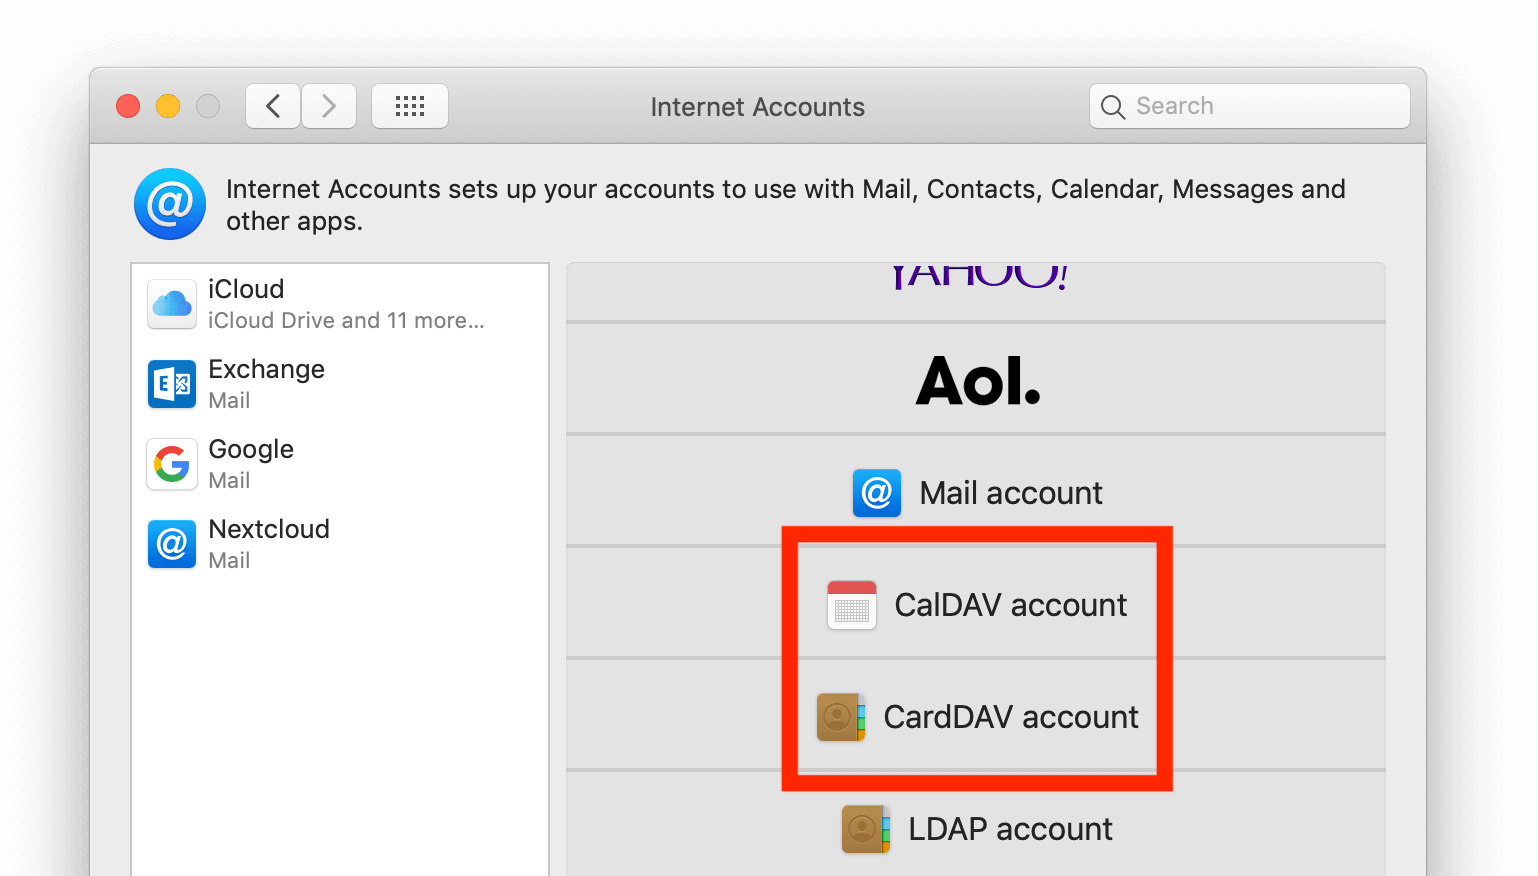
Click on the small blue choose from a list.
Click on add Other Account…
Select CalDAV Account for calendar and CardDAV Account for contacts.
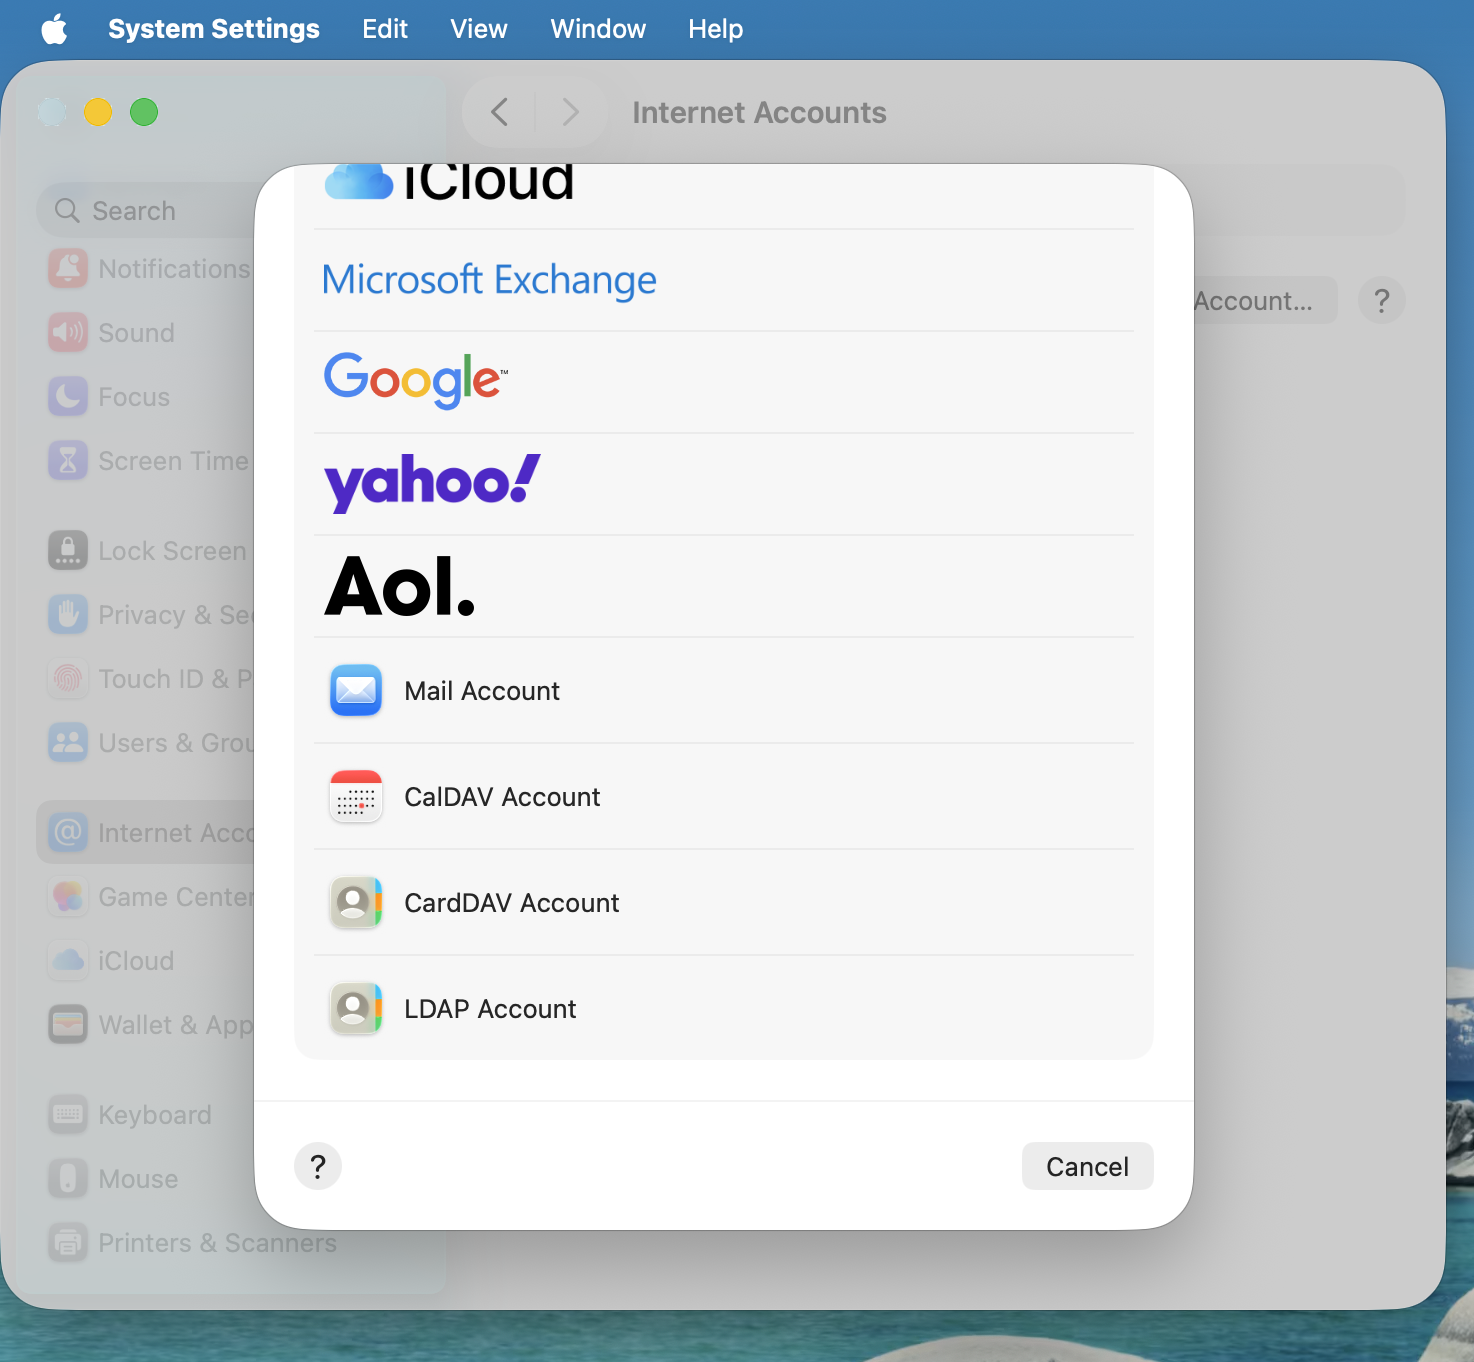
Merknad
You can not setup Calendar/Contacts together. You need to setup them separately.
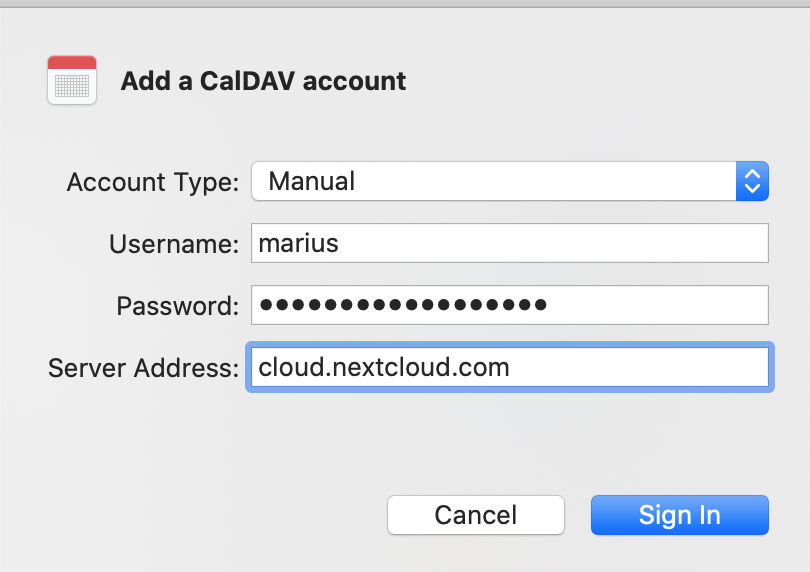
Select Manual as Account Type and type in your respective credentials:
Brukernavn: Nextcloud-brukernavnet ditt eller e-post
Password: Either your password or if you use 2FA your generated app-password/token (Learn more).
Server Address: URL of your Nextcloud server (e.g.
https://nextcloud.yourdomain.com)
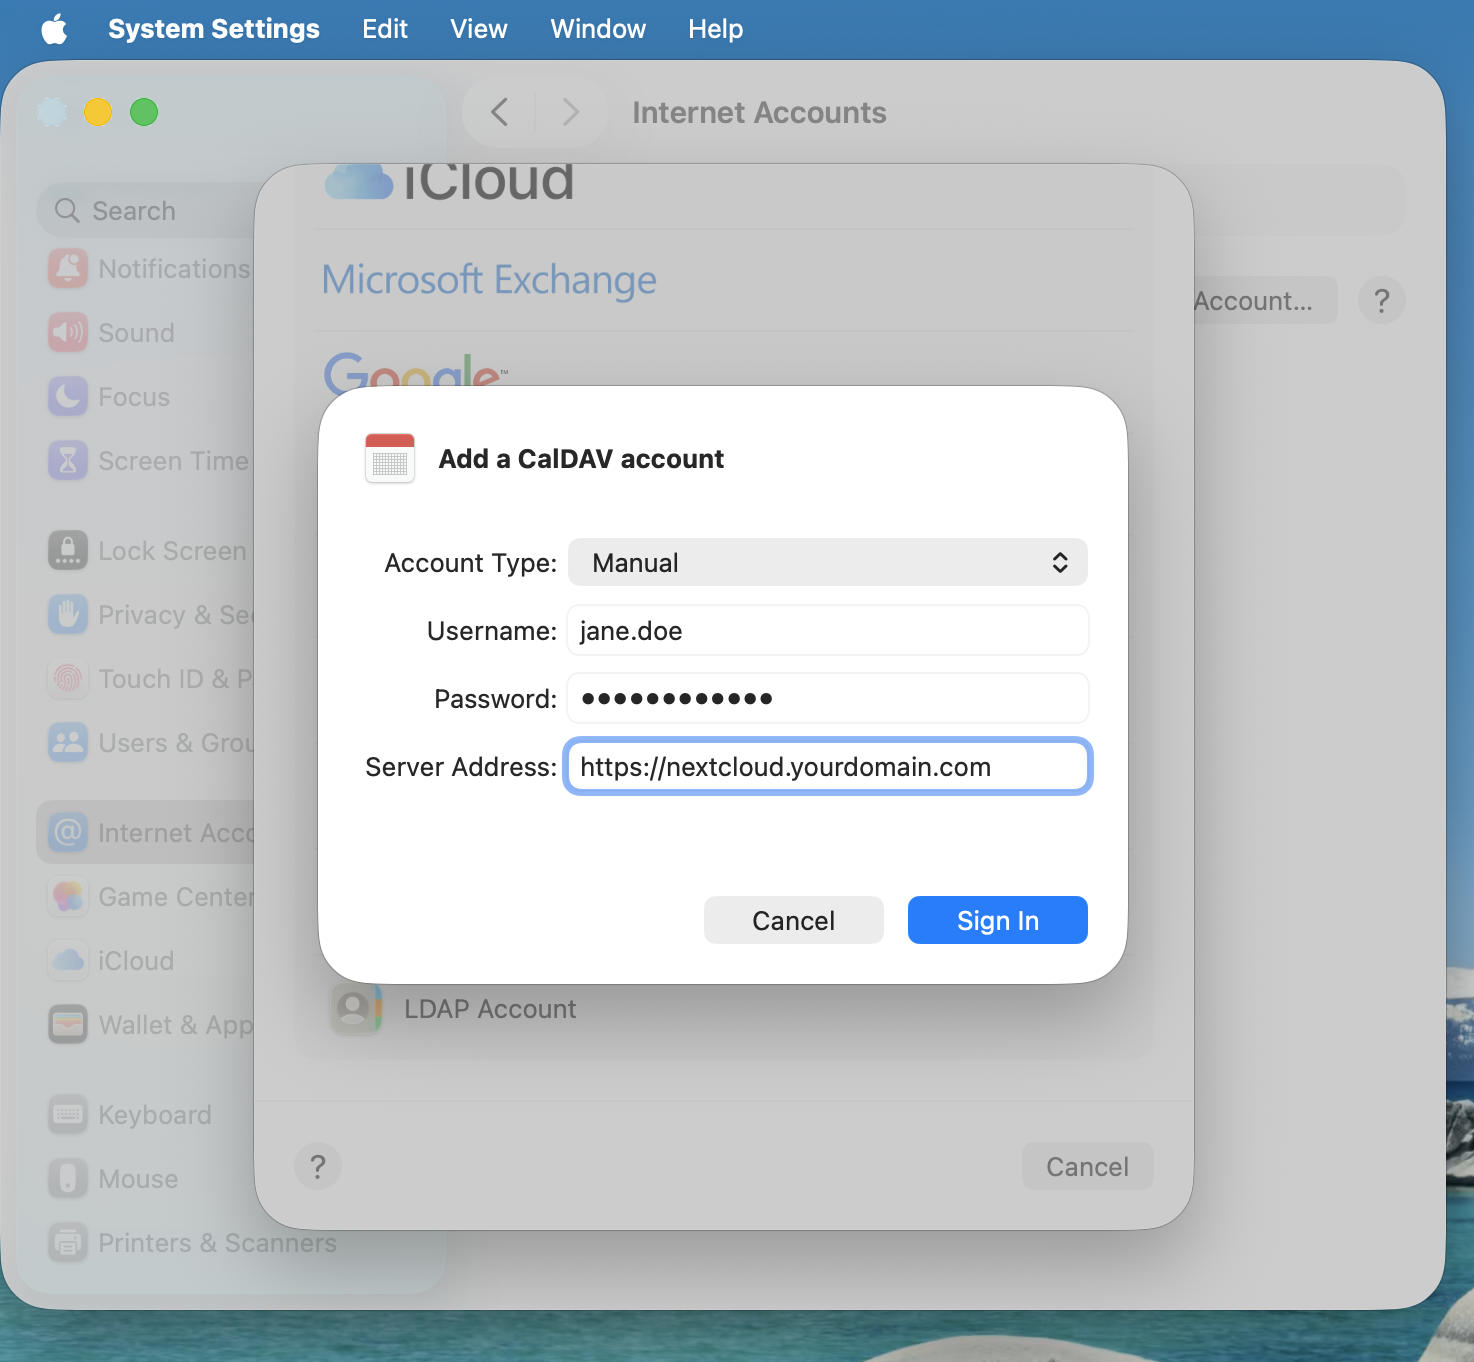
Klikk på Logg på.
Feilsøking
macOS støtter ikke synkronisering av CalDAV/CardDAV over ikke-krypterte ’’http://’-tilkoblinger. Forsikre deg om at du har ’’ https:// ’’ aktivert og konfigurert på server- og klientsiden.
Selvsignerte sertifikater må være riktig konfigurert i macOS-nøkkelringen.