Installation
Download
You can download the latest version of the Nextcloud Desktop Synchronization Client from the Nextcloud download page. Clients are available for Linux, macOS, and Microsoft Windows.
Vous pouvez aussi trouver des liens vers les archives de code source et les anciennes versions sur la page de téléchargement.
Supported server versions
Each desktop client release supports the latest three stable Nextcloud server major versions at the time of release. See the Nextcloud Server release schedule for supported major versions.
Configuration requise
Windows 10+ (uniquement 64-bits)
macOS 12.0+ (uniquement 64-bits)
Linux (Ubuntu 24.04 ou openSUSE 15.5 ou Alma 8 ou…) (64 bits uniquement)
For Linux distributions, we support, if technically feasible, the current LTS releases. For BSD, we support them if technically feasible, but we do not test them.
Note
Nous ne prenons pas en charge Citrix.
Nous ferons tout notre possible pour conseiller les utilisateurs de Citrix du point de vue du client de bureau.
Nous corrigerons les problèmes qui peuvent aussi être reproduits sur les systèmes standards pris en charge.
Tout le reste est hors de notre portée.
Install on macOS and Windows
Installation on macOS and Windows is the same as for any other software application: download the program and then double-click it to launch the installation, and then follow the installation wizard. After it is installed and configured the desktop client will automatically keep itself updated; see L’agent de mise à jour automatique for more information.
For administrator-focused deployment options such as advanced Windows MSI configuration, non-interactive account provisioning, and command-line wizard preconfiguration, see the Admin Manual chapter on desktop client deployment and setup.
Install on Linux
For Linux, Nextcloud officially provides the desktop client as an AppImage on the Nextcloud download page.
Some Linux distributions also provide the Nextcloud desktop client through their package managers. These packages are maintained by the distribution or community, not by Nextcloud. If you prefer a package-managed installation, refer to your distribution’s documentation.
Linux users must also have a password manager enabled, such as GNOME Keyring or KWallet, so that the desktop client can log in automatically.
Initial Setup
After installation, the initial setup wizard is triggered. In the setup wizard, you can log in to your server, create an account with a provider, and configure which folders to sync. The wizard will guide you step-by-step through the essential configuration options and basic account setup.
First, you need to enter the URL of your Nextcloud server.
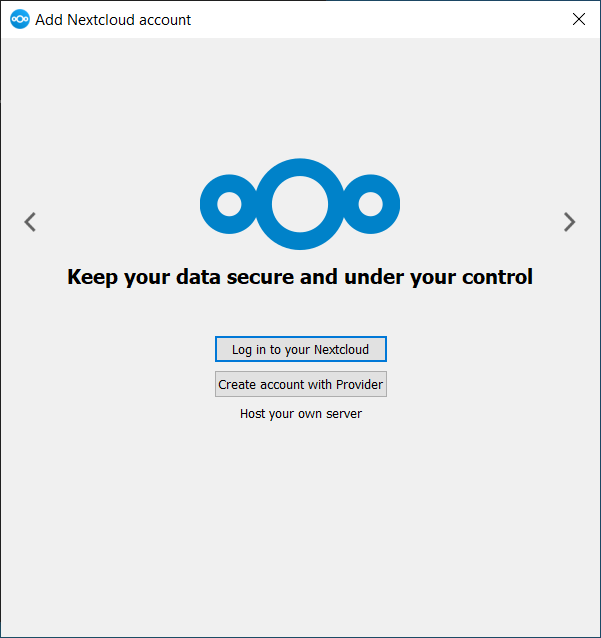
If you already have an account on a Nextcloud instance, click Login to your
Nextcloud. If you do not yet have a Nextcloud instance or an account, you may
need to create one first. Alternatively, you might want to register an account
with a provider. Press Create account with Provider in that case.
Note
The desktop client build you are using may have been built without provider support. In that case, you won’t see this page and will immediately see the next page.
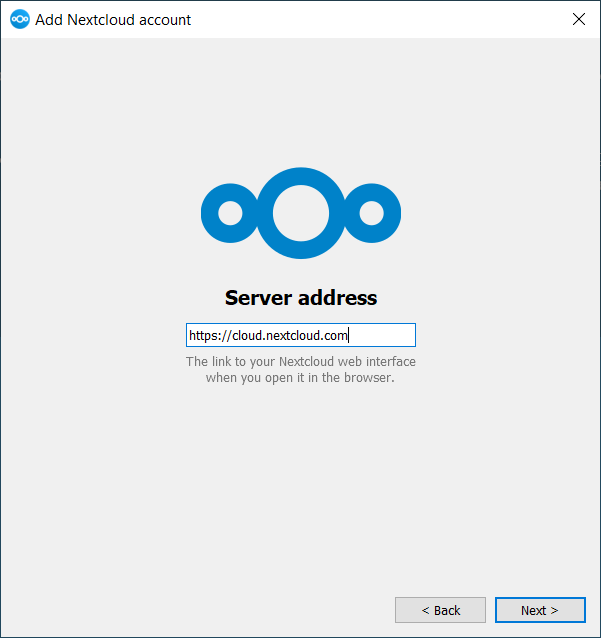
Entrez l’URL (adresse Internet) de votre instance Nextcloud. L’URL (adresse Internet) est la même adresse que vous entrez dans votre navigateur pour accéder à votre instance Nextcloud.
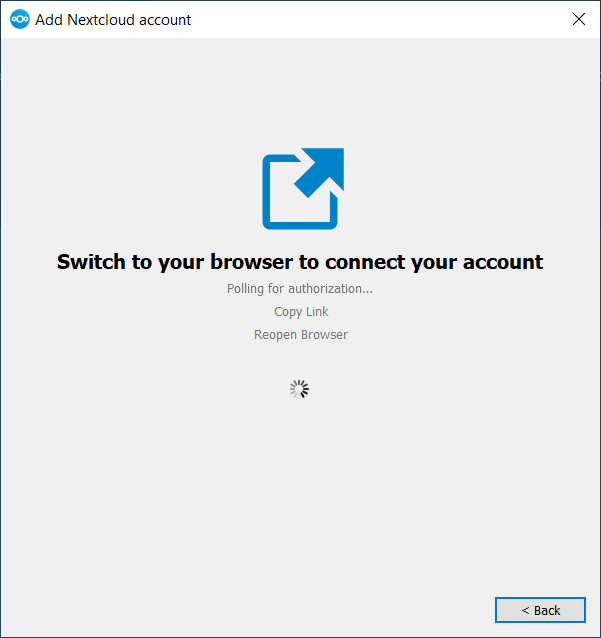
Now your web browser should open and prompt you to log in to your Nextcloud instance. Enter your username and password in your web browser and click Grant access when prompted. After you do that, go back to the wizard.
Note
You might not need to enter your username and password if you are already logged in to your web browser.
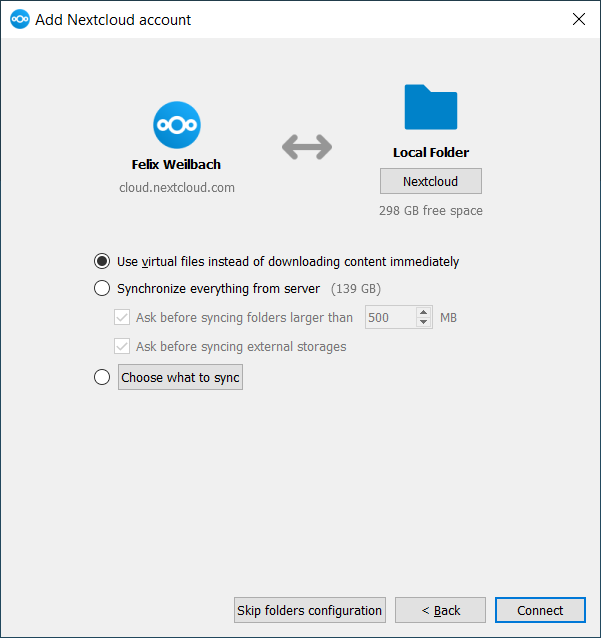
Sur l’écran des options de dossier, vous pouvez synchroniser tous vos fichiers sur le serveur Nextcloud ou sélectionner des dossiers individuels. Le dossier de synchronisation local par défaut est Nextcloud, dans votre répertoire personnel. Vous pouvez le modifier si vous voulez.
When you have completed selecting your sync folders, click the Connect button. The client will attempt to connect to your Nextcloud server. If it is successful, the wizard will close itself. You can then observe the sync activity and open the main dialog by clicking on the tray icon.