Sincronizar con macOS
Configurar sus Cuentas
In the following steps you will add CalDAV (Calendar) and CardDAV (Contacts) to your macOS integrated Calendar and Contacts applications. At the time of writing this guide, macOS is at version 26.3.1.
Click on the Apple logo in the top left corner of your screen and select System Settings… from the dropdown menu.
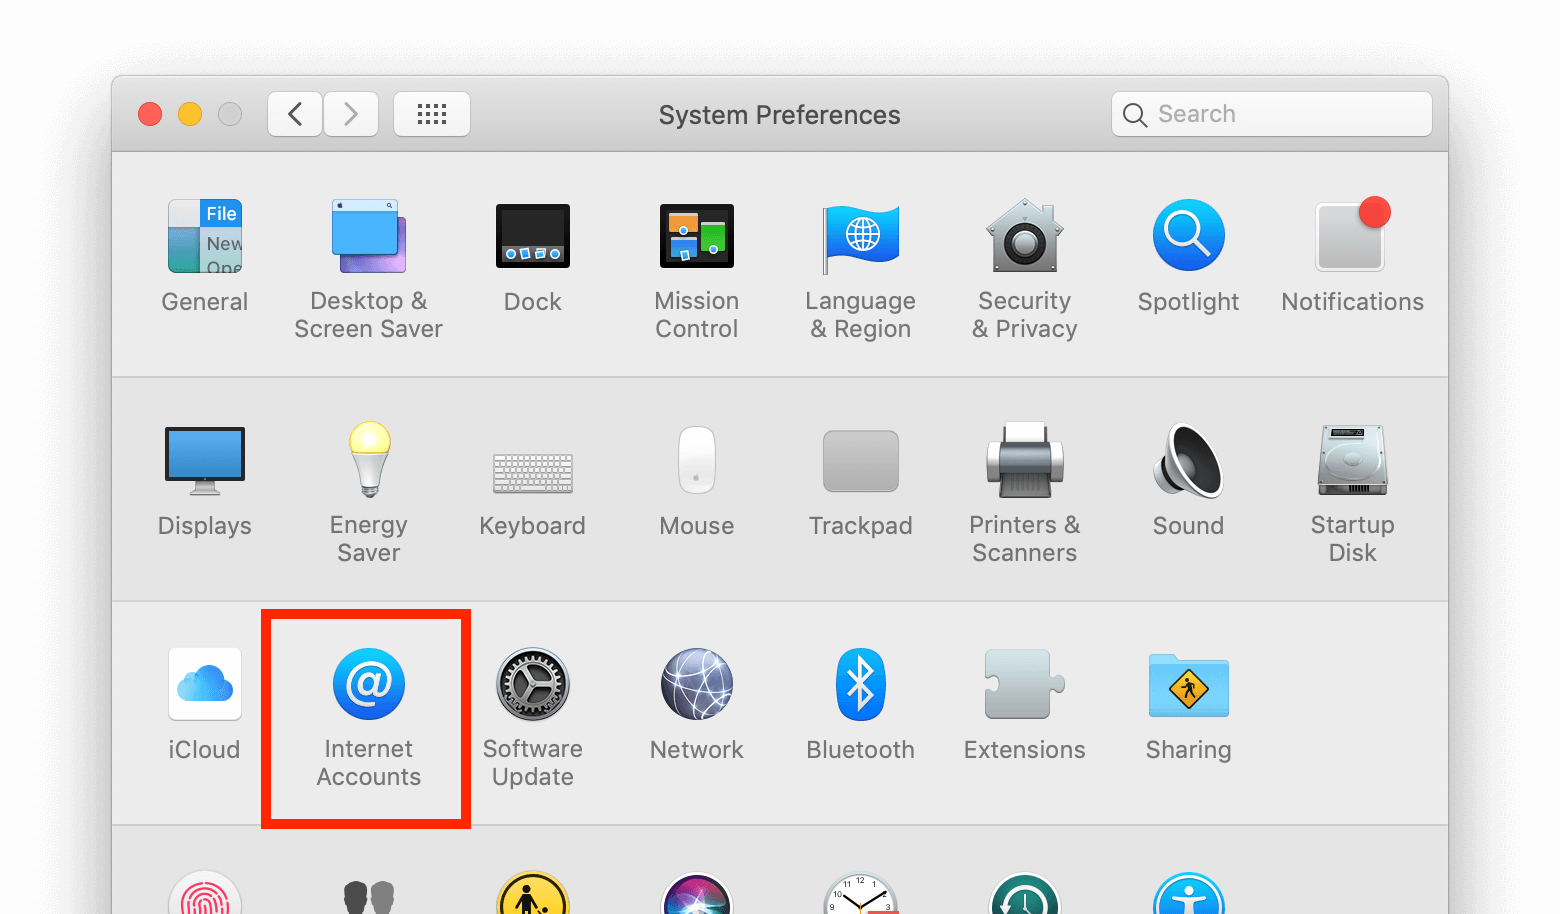
Navegue a Cuentas de Internet:
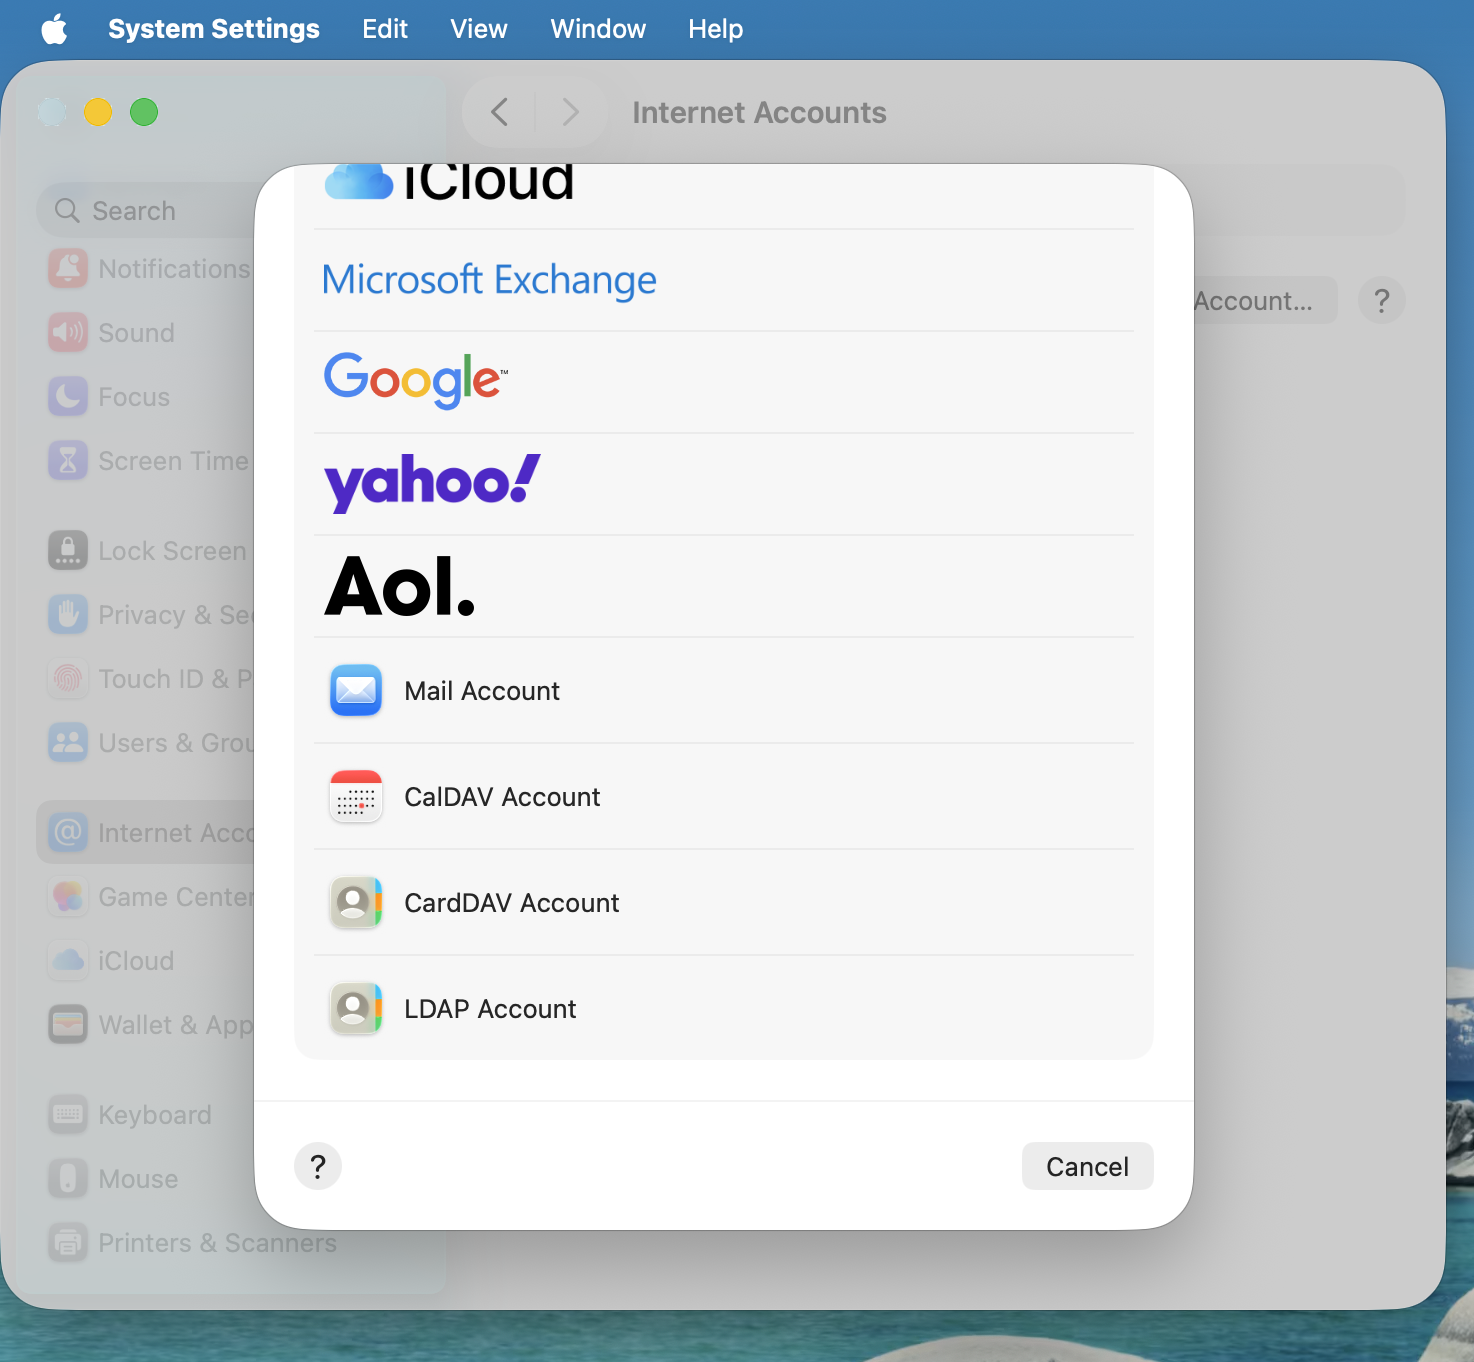
Click on the small blue choose from a list.
Click on add Other Account…
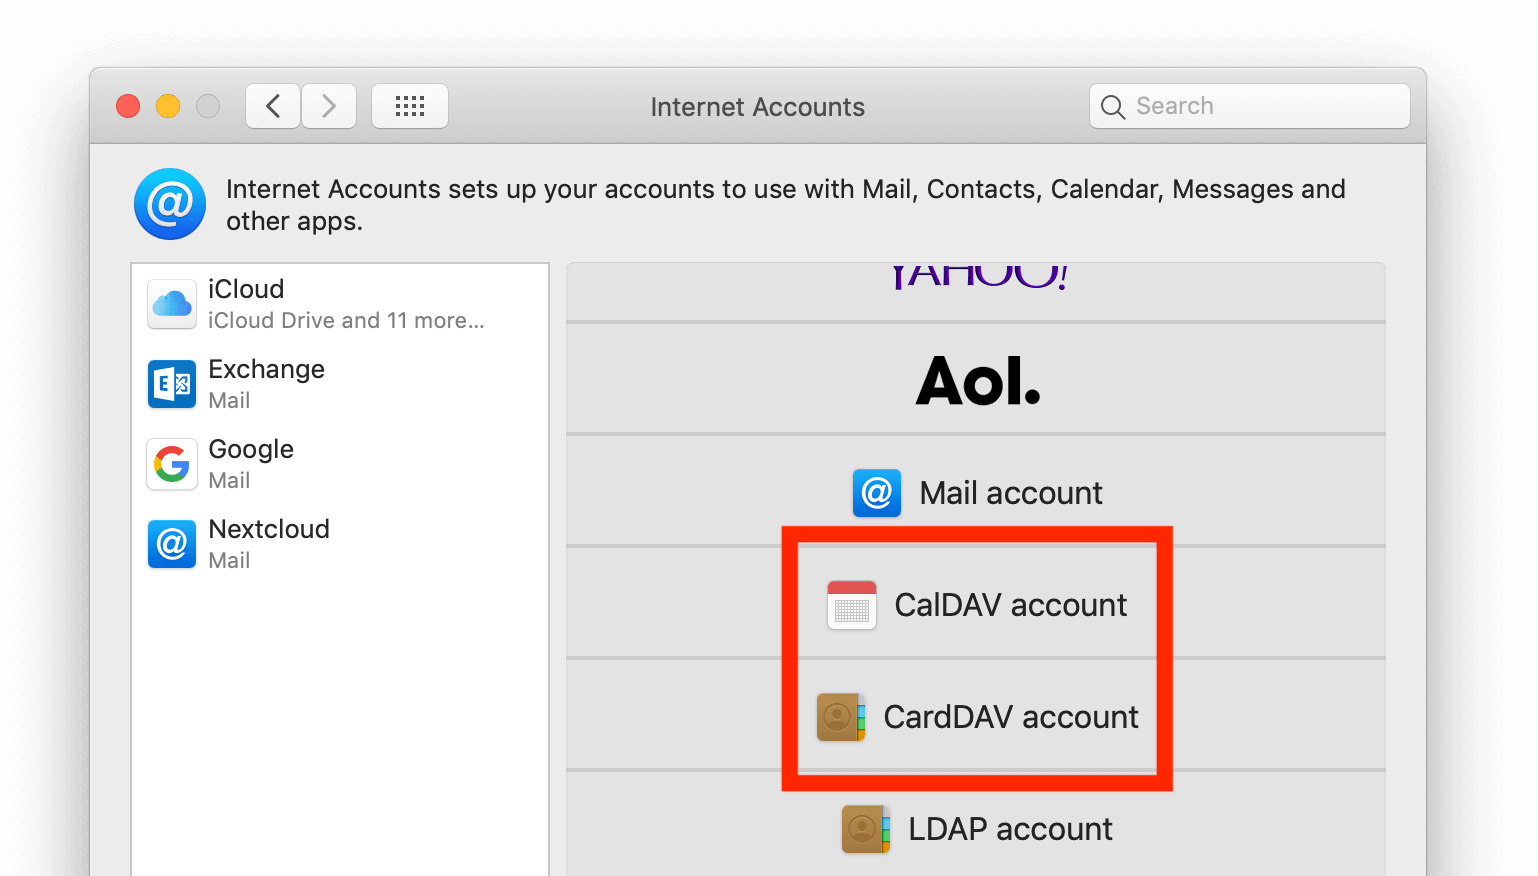
Select CalDAV Account for calendar and CardDAV Account for contacts.
Nota
You can not setup Calendar/Contacts together. You need to setup them separately.
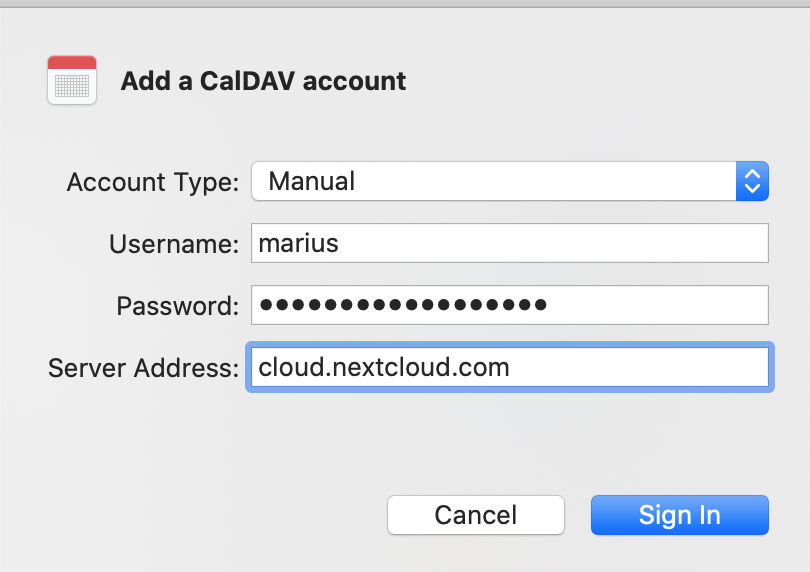
Select Manual as Account Type and type in your respective credentials:
Nombre de usuario: Su nombre de usuario de Nextcloud o correo electrónico
Password: Either your password or if you use 2FA your generated app-password/token (Learn more).
Server Address: URL of your Nextcloud server (e.g.
https://nextcloud.yourdomain.com)
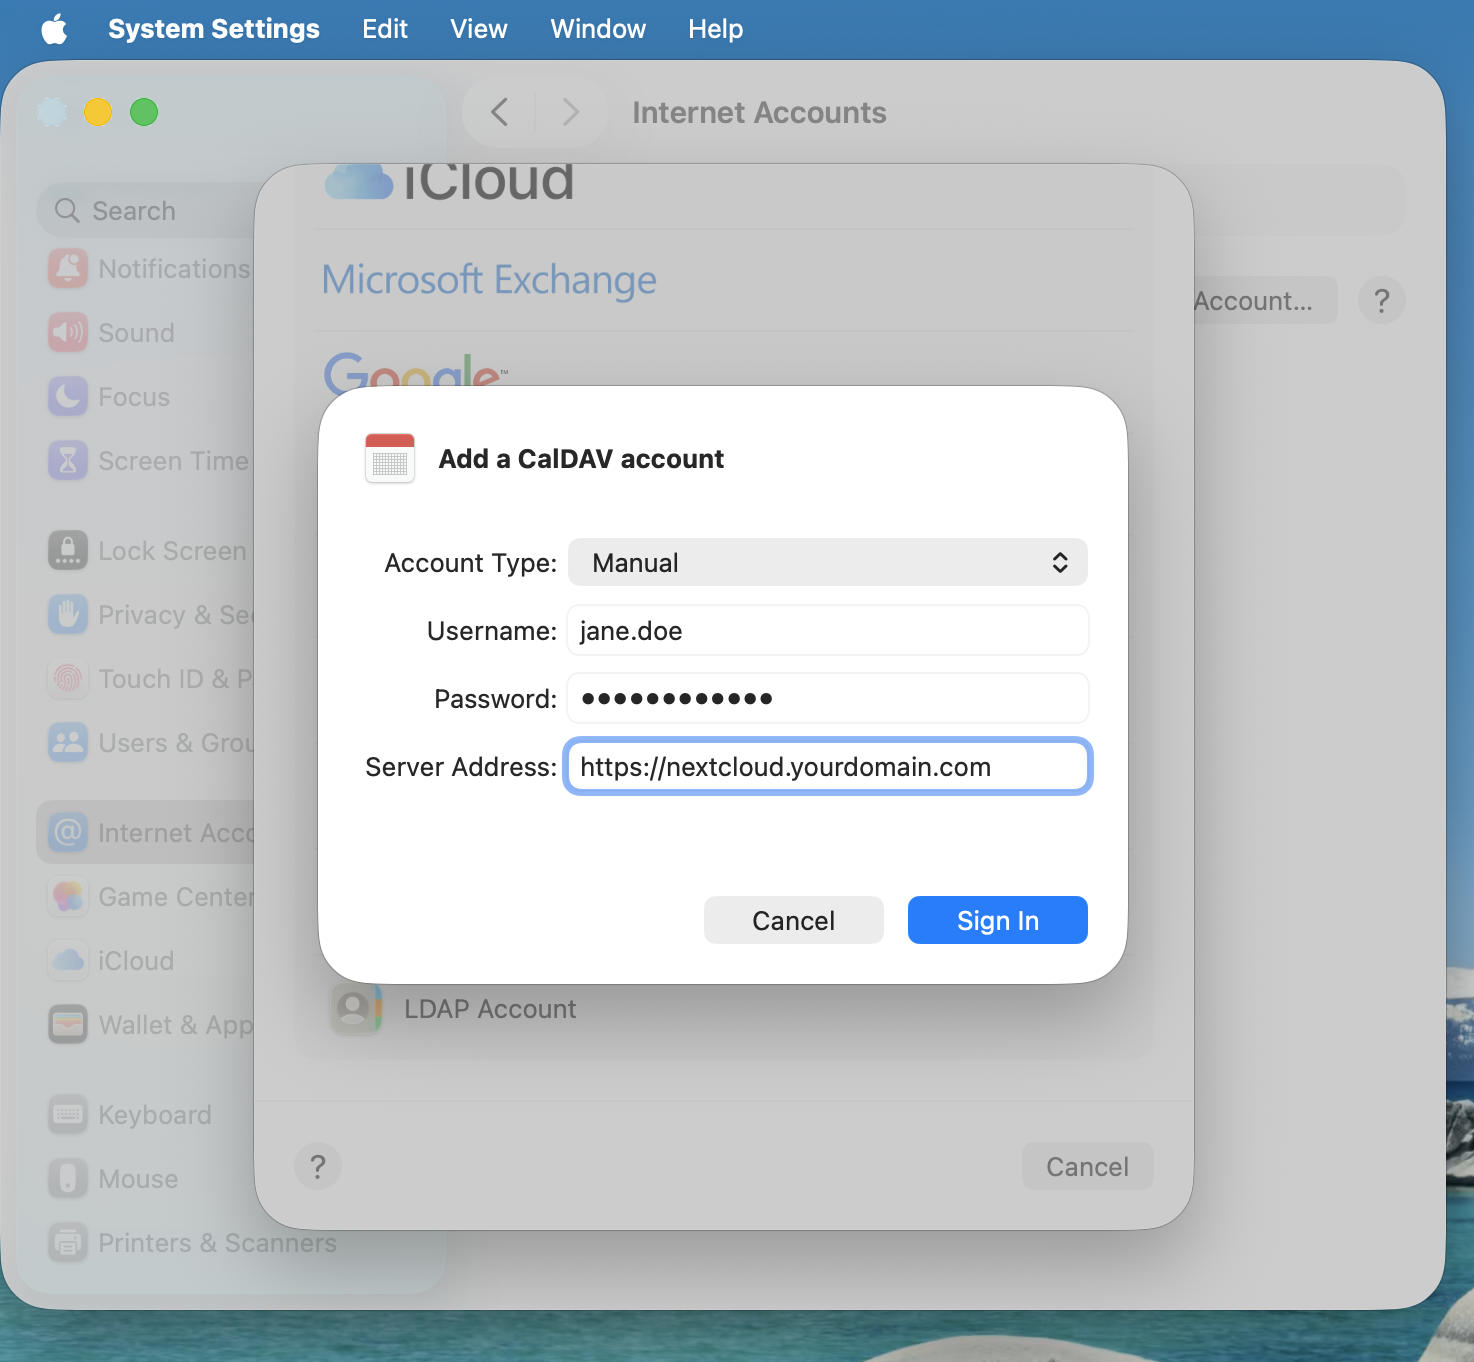
Pulse Iniciar sesión.
Resolución de problemas
macOS no soporta la sincronización de CalDAV/CardDAV con conexiones
http://no cifradas. Asegúrese de que tienehttps://activado y configurado tanto en el cliente como en el servidor.Los certificados auto-firmados deben ser añadidos al llavero de macOS.