Synchronizing with Thunderbird
Thunderbird is a feature-rich and mature mail client that can be turned into a full-fledged Personal Information Manager (PIM). Since version 102, it supports address book synchronization via CardDAV and automatic discovery of calendars and address books available on the server.
Recommended method
Since Thunderbird 102, the CardDAV & CalDAV protocols are natively supported.
Contacts
On the address book view, click the down arrow near New Address Book and choose Add CardDAV Address Book.
In the next window, type your Username and Location (Server URL).
The next window will ask for your username and password for this account.
The previous window will be refreshed and ask you which address books you wish to sync.
Choose and then click Continue.
If you later want to add a new address book, you can redo all of those steps and only the books not already synchronized will be suggested.
Informacja
If your account uses two-factor authentication, you need a dedicated app password for login rather than your regular password.
Calendars
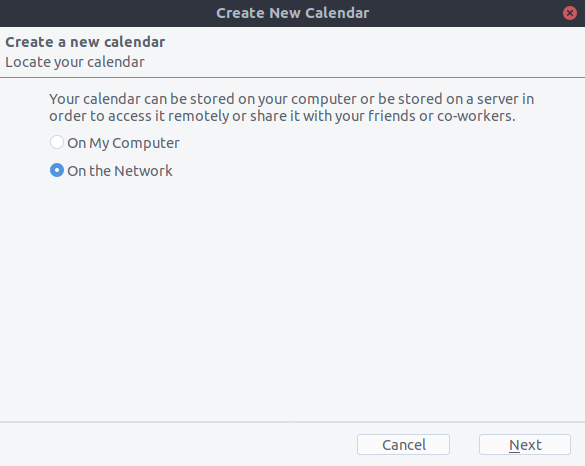
Go to the calendar view in Thunderbird and select the New Calendar… button at the bottom of the left side panel.
Choose On the network:
Type your Username and Location (Server URL), then click on Find Calendars.
Choose which calendars you want to add and click Subscribe
Same thing here, if you later want to add more calendars, just redo the procedure.
Alternative: Using the CardBook add-on (Contacts only)
CardBook is an advanced alternative to Thunderbird’s address book, which supports CardDAV.
Click the CardBook icon in the upper right corner of Thunderbird:

In CardBook:
Go to Address book > New Address book Remote > Next
Select CardDAV, fill in the address of your Nextcloud server, your user name and password

Click on „Validate”, click Next, then choose the name of the address book and click Next again:

When you are finished, CardBook synchronizes your address books. You can always trigger a synchronization manually by clicking „Synchronize” in the top left corner of CardBook:
