macOS ile eşitlemek
Hesaplarınızı ayarlamak
In the following steps you will add CalDAV (Calendar) and CardDAV (Contacts) to your macOS integrated Calendar and Contacts applications. At the time of writing this guide, macOS is at version 26.3.1.
Click on the Apple logo in the top left corner of your screen and select System Settings… from the dropdown menu.
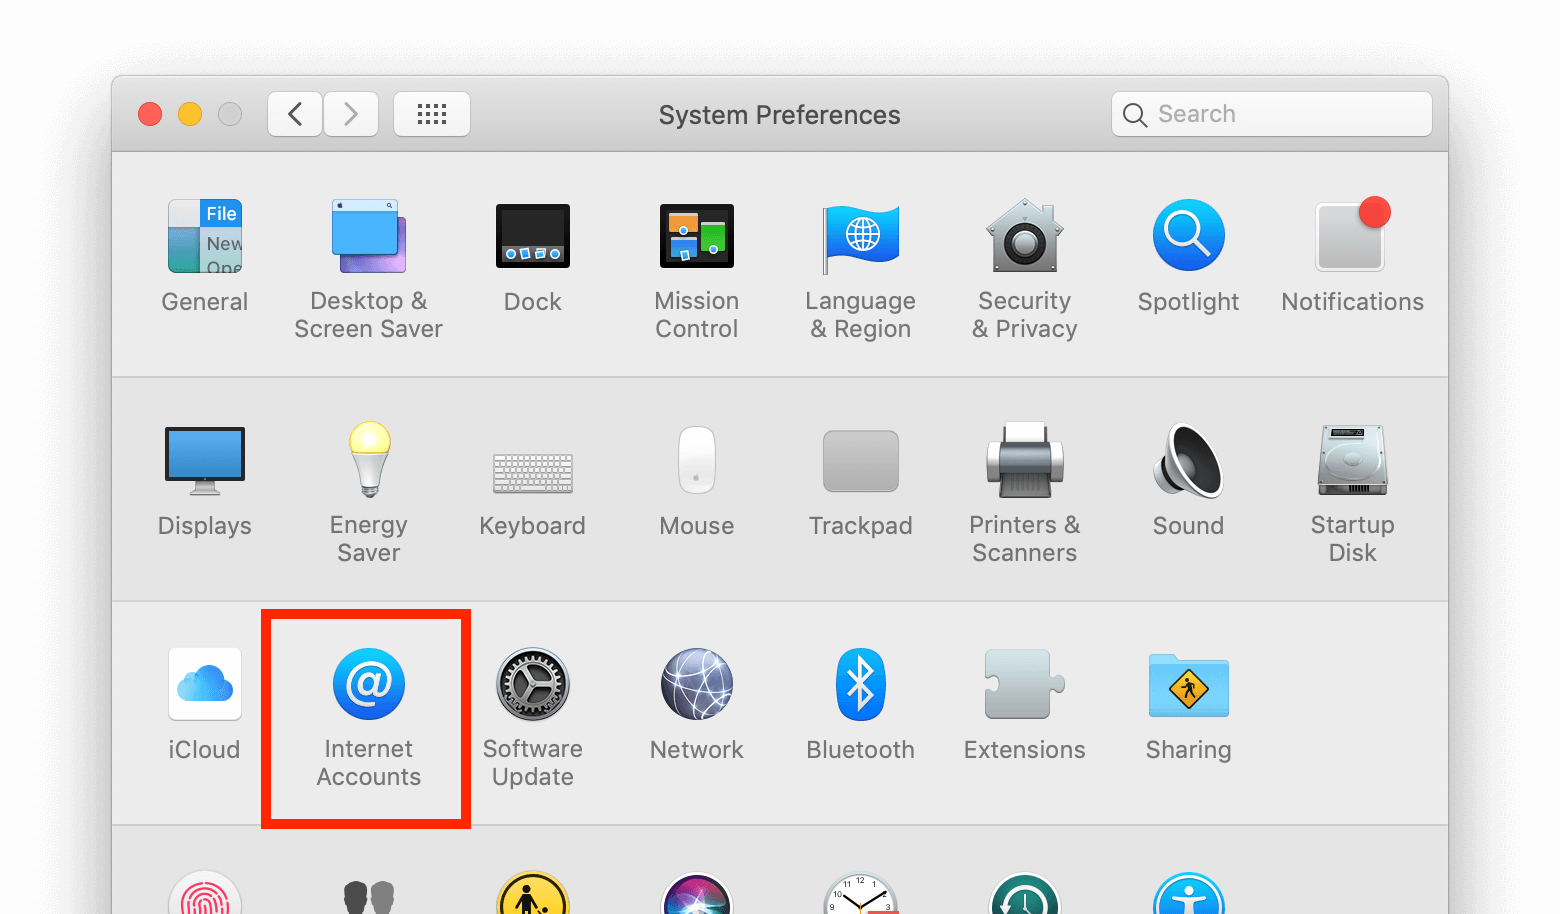
Internet Hesapları bölümüne gidin:
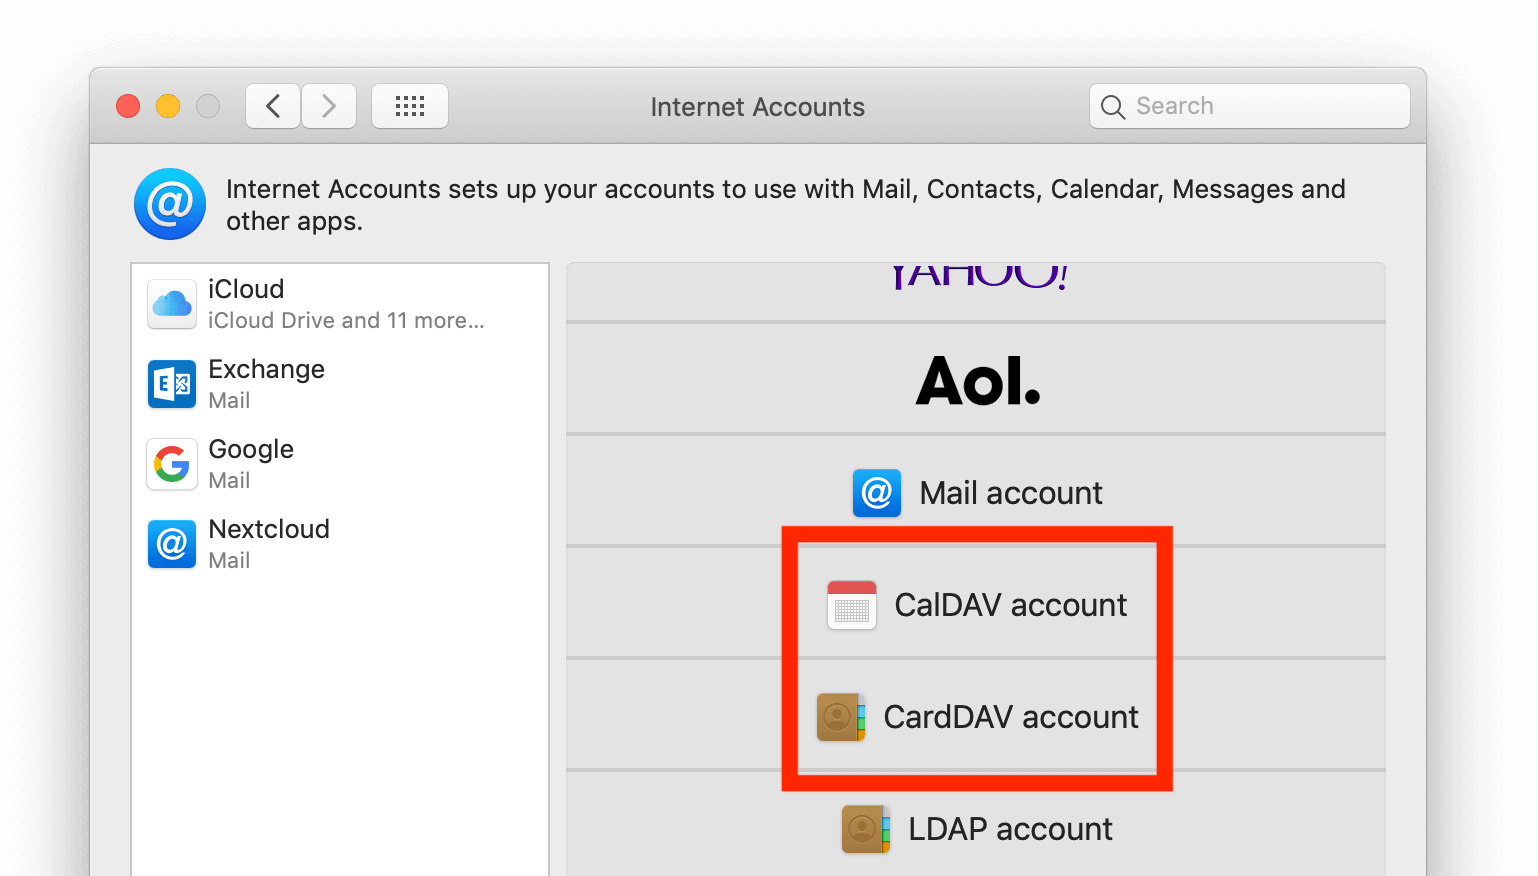
Click on the small blue choose from a list.
Click on add Other Account…
Select CalDAV Account for calendar and CardDAV Account for contacts.
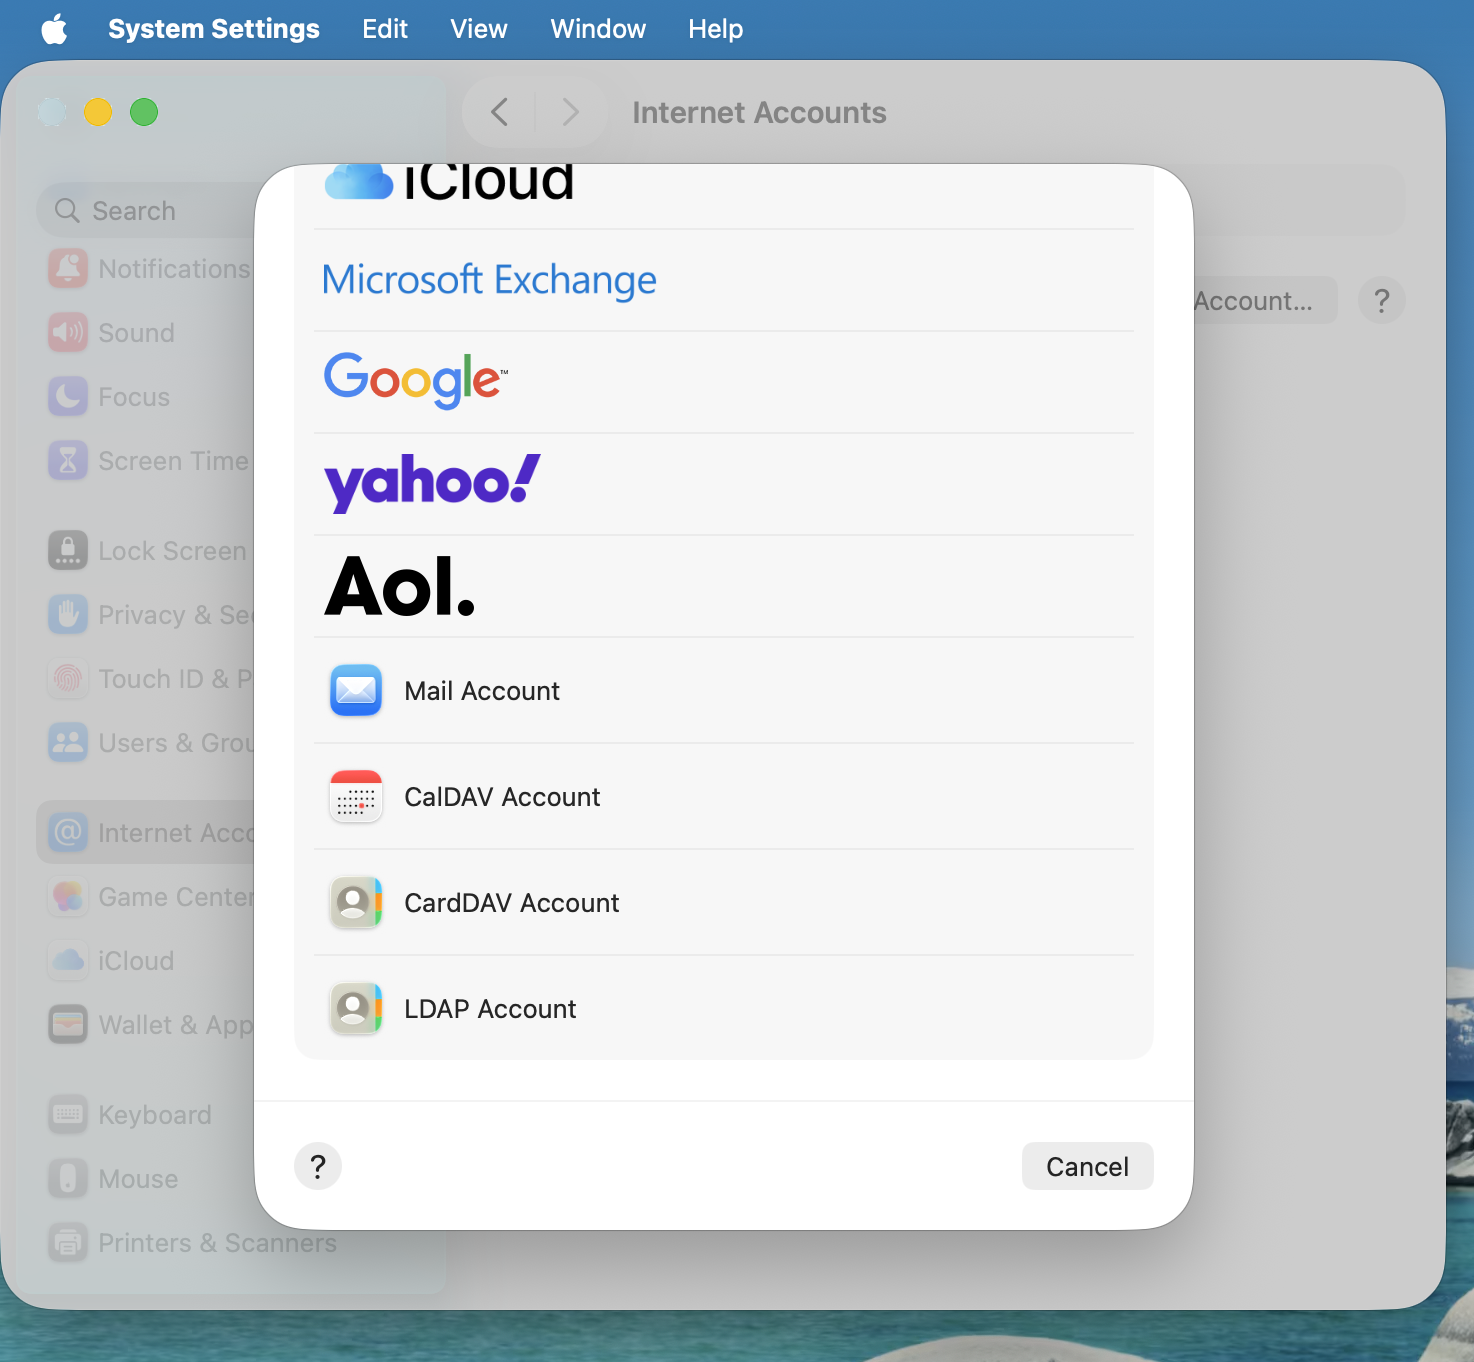
Not
You can not setup Calendar/Contacts together. You need to setup them separately.
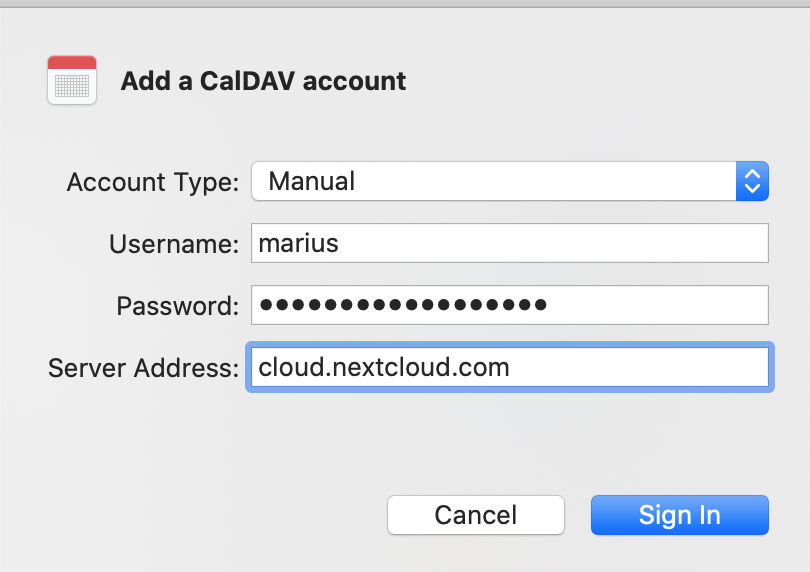
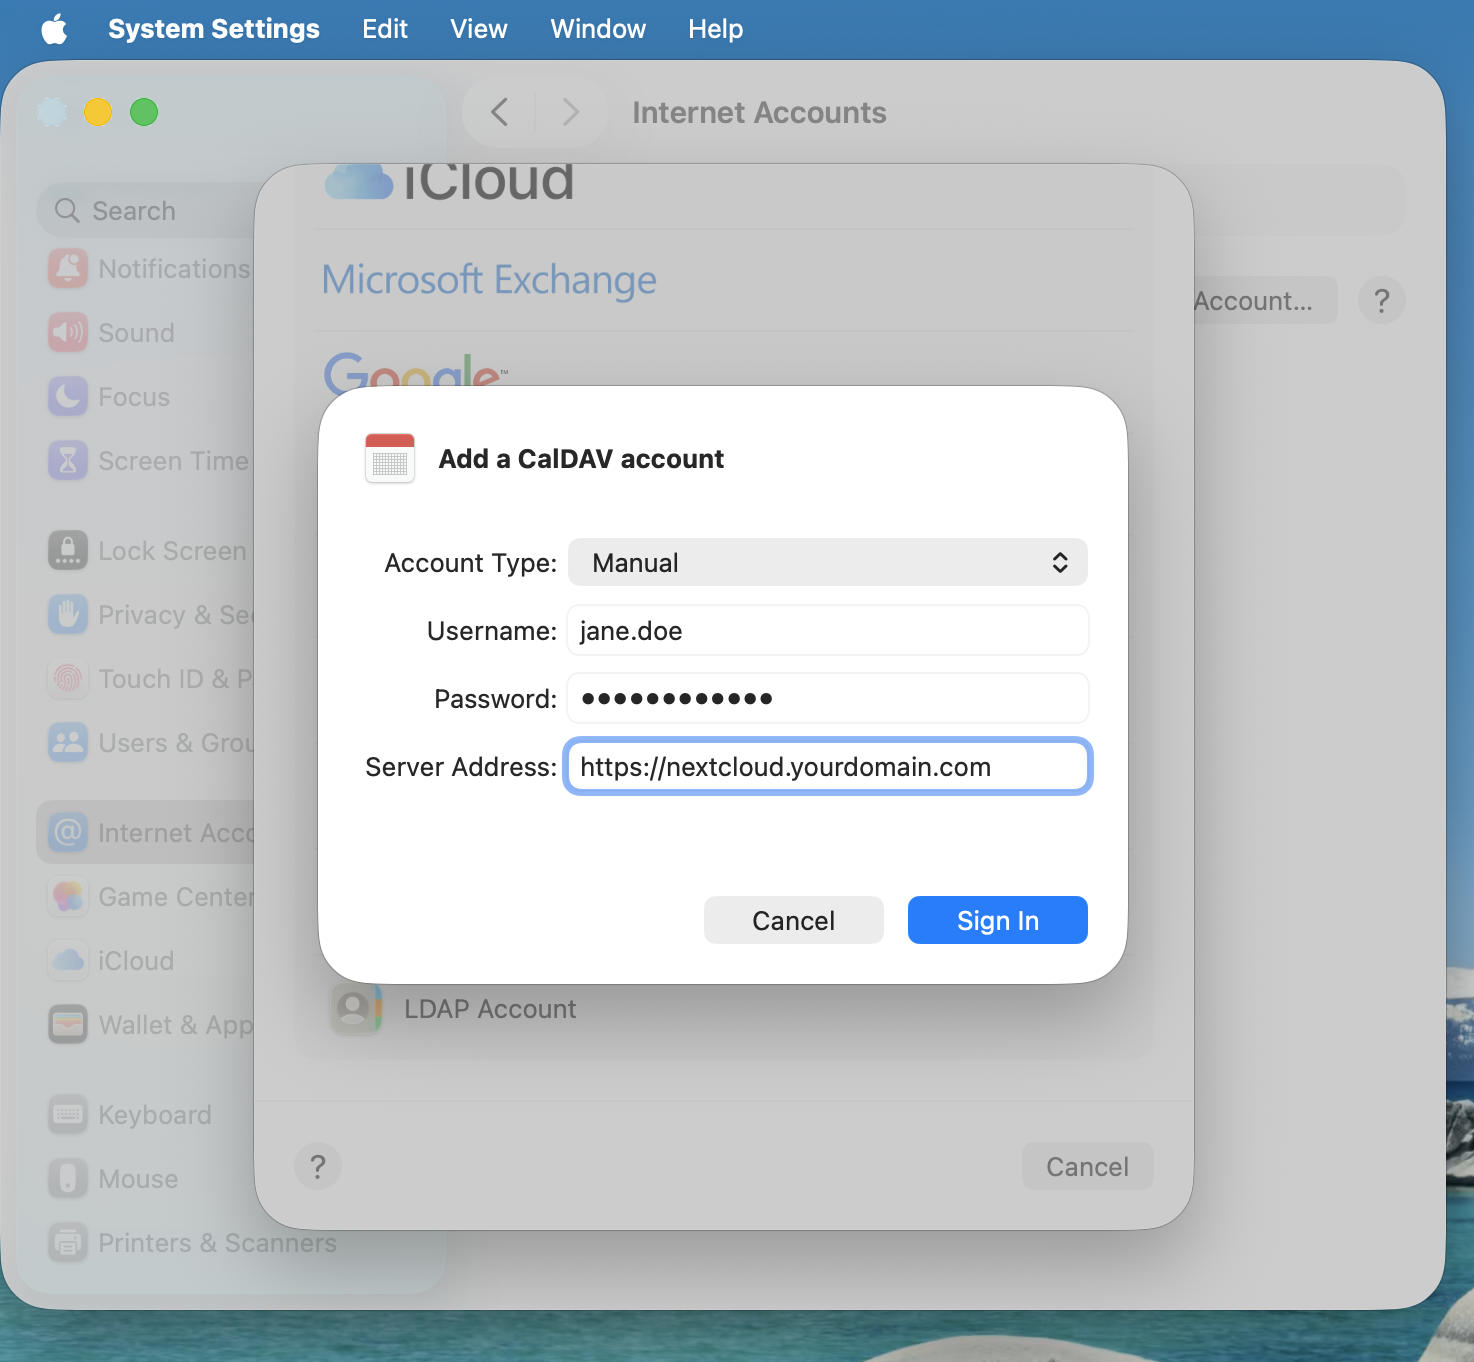
Select Manual as Account Type and type in your respective credentials:
Kullanıcı Adı: Nextcloud üzerindeki kullanıcı adınız ya da e-posta adresiniz
Password: Either your password or if you use 2FA your generated app-password/token (Learn more).
Server Address: URL of your Nextcloud server (e.g.
https://nextcloud.yourdomain.com)
Giriş Yap üzerine tıklayın.
Sorun çözme
macOS, şifrelenmemiş “http://” bağlantıları üzerinden CalDAV/CardDAV eşitlemeyi desteklemez. Sunucu ve istemci tarafında
https://iletişim kuralının kullanıma alınmış ve yapılandırılmış olduğundan emin olun.Kendinden imzalı sertifikaların macOS anahtar zincirinde doğru şekilde ayarlanması gerekir.