Sincronização com macOS
Configurar suas Contas
Nas etapas a seguir, você adicionará o CalDAV (Calendário) e o CardDAV (Contatos) aos aplicativos integrados Calendário e Contatos do macOS. No momento da redação deste guia, o macOS está na versão 26.3.1.
Clique no logotipo da Apple no canto superior esquerdo da tela e selecione Configurações do Sistema… no menu suspenso.
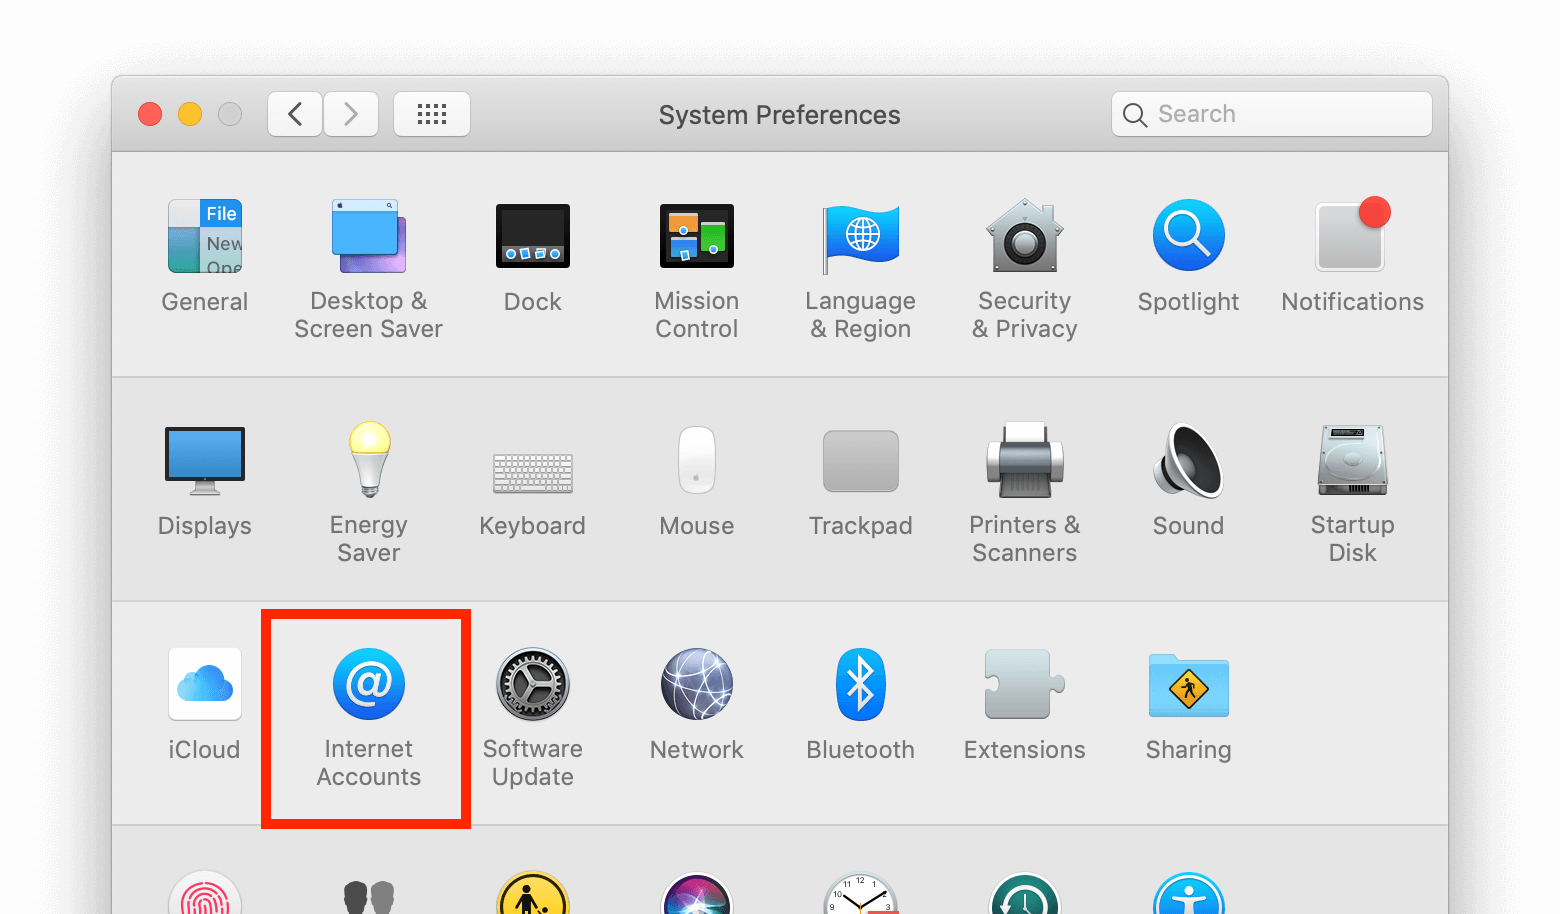
Navegue até Contas de Internet:
Clique no pequeno botão azul escolher da lista.
Clique em Adicionar outra conta…
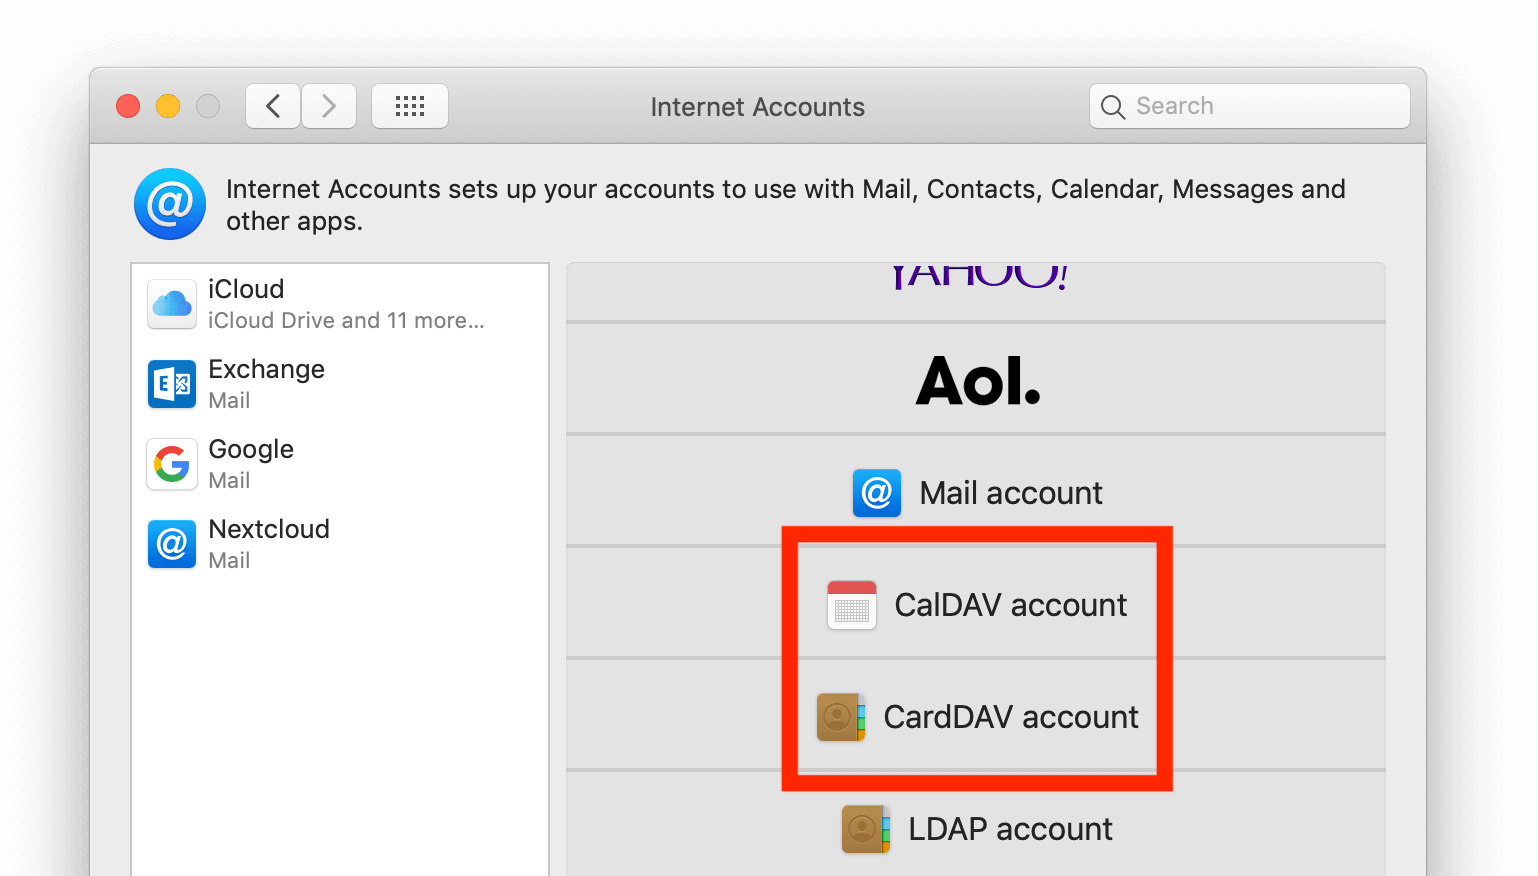
Selecione Conta CalDAV para o calendário e Conta CardDAV para os contatos.
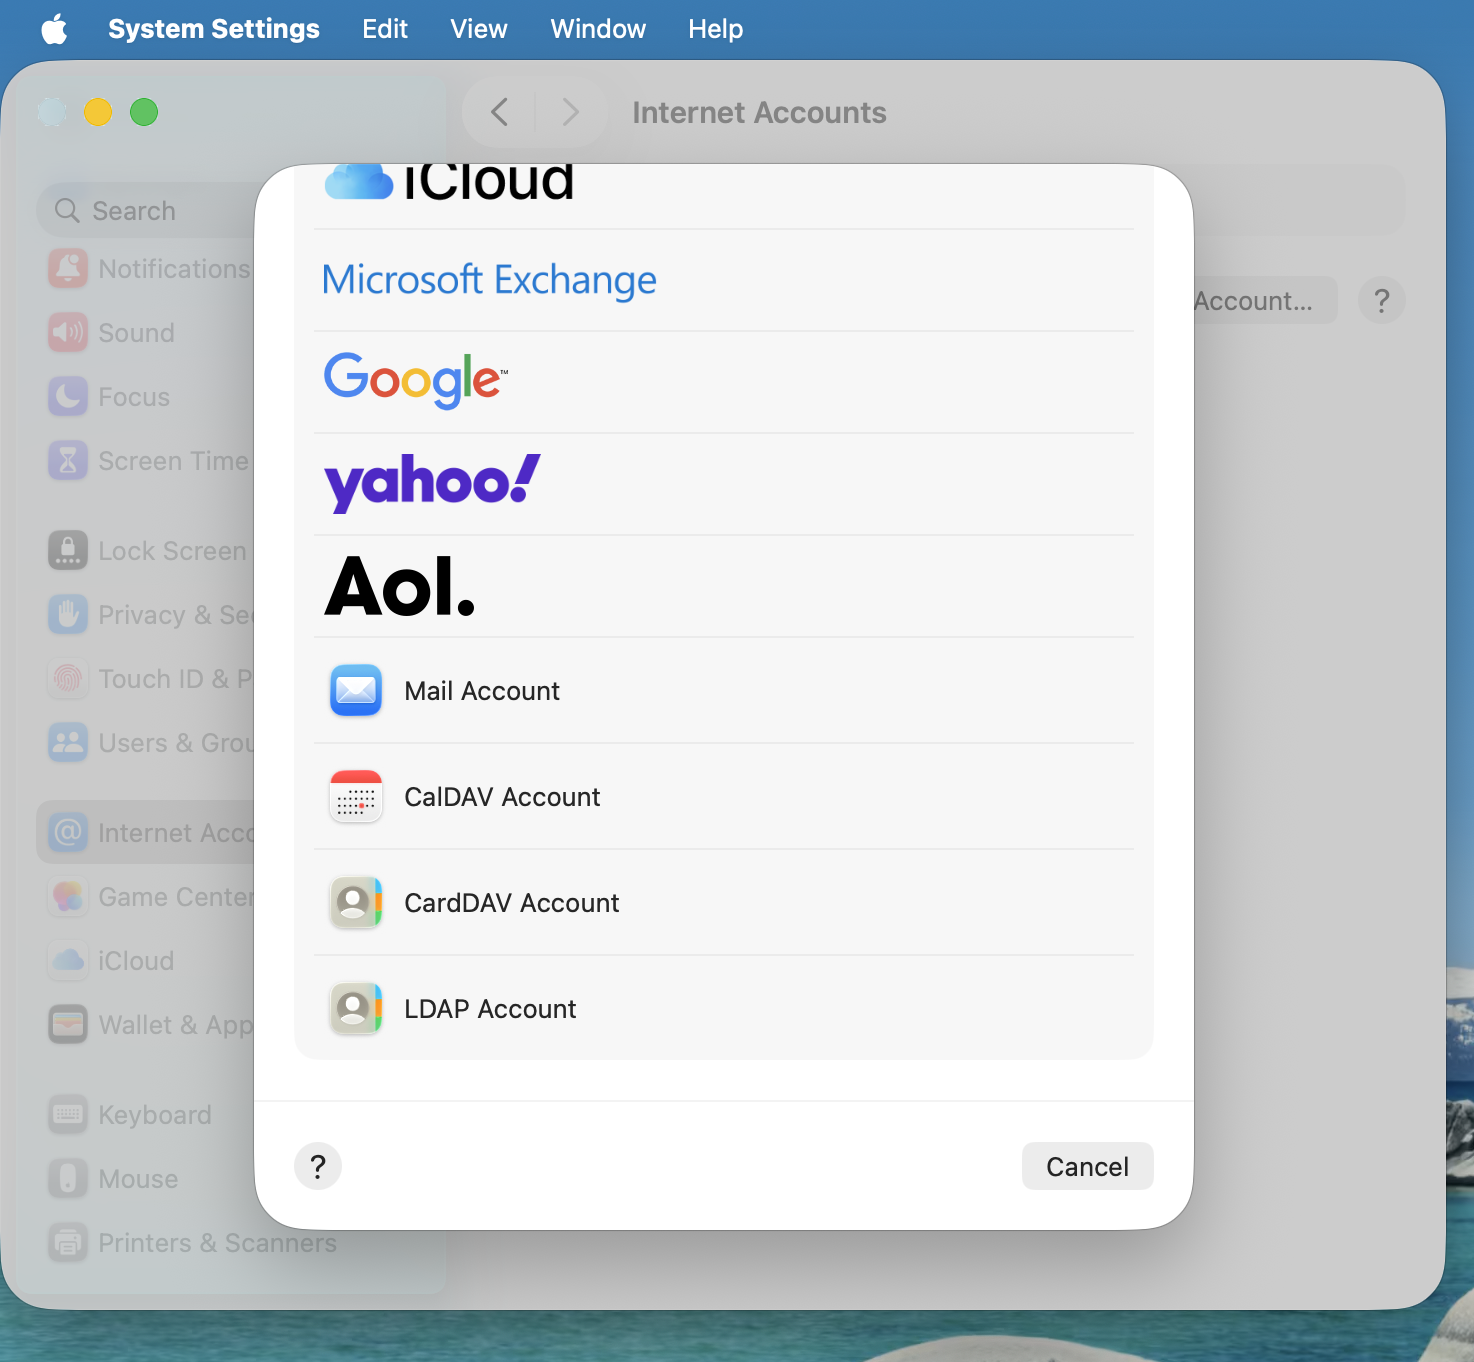
Nota
Não é possível configurar o Calendário e os Contatos ao mesmo tempo. É preciso configurá-los separadamente.
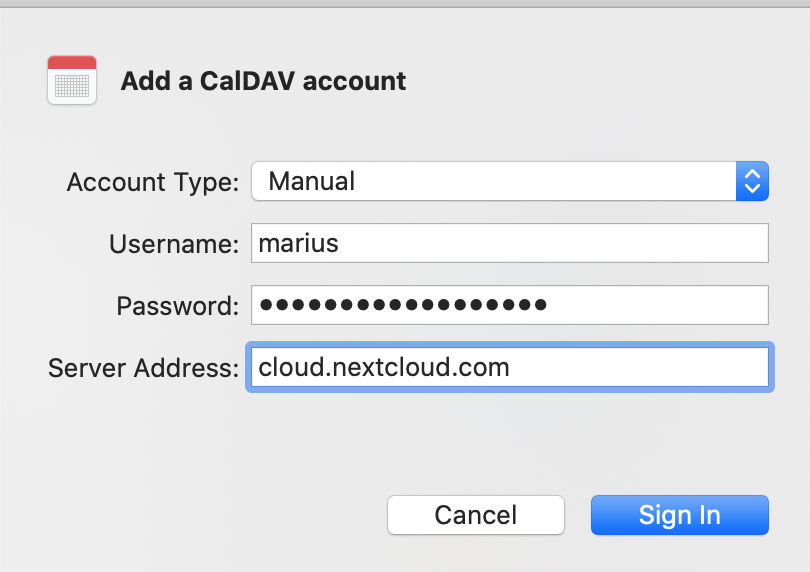
Selecione Manual como tipo de conta e insira suas respectivas credenciais:
Nome de usuário: Seu nome de usuário ou e-mail Nextcloud
Senha: Sua senha ou, caso utilize a autenticação de dois fatores (2FA), a senha de aplicativo ou o token gerado (Saiba mais).
Endereço do servidor: URL do seu servidor Nextcloud (p. ex.,
https://nextcloud.yourdomain.com)
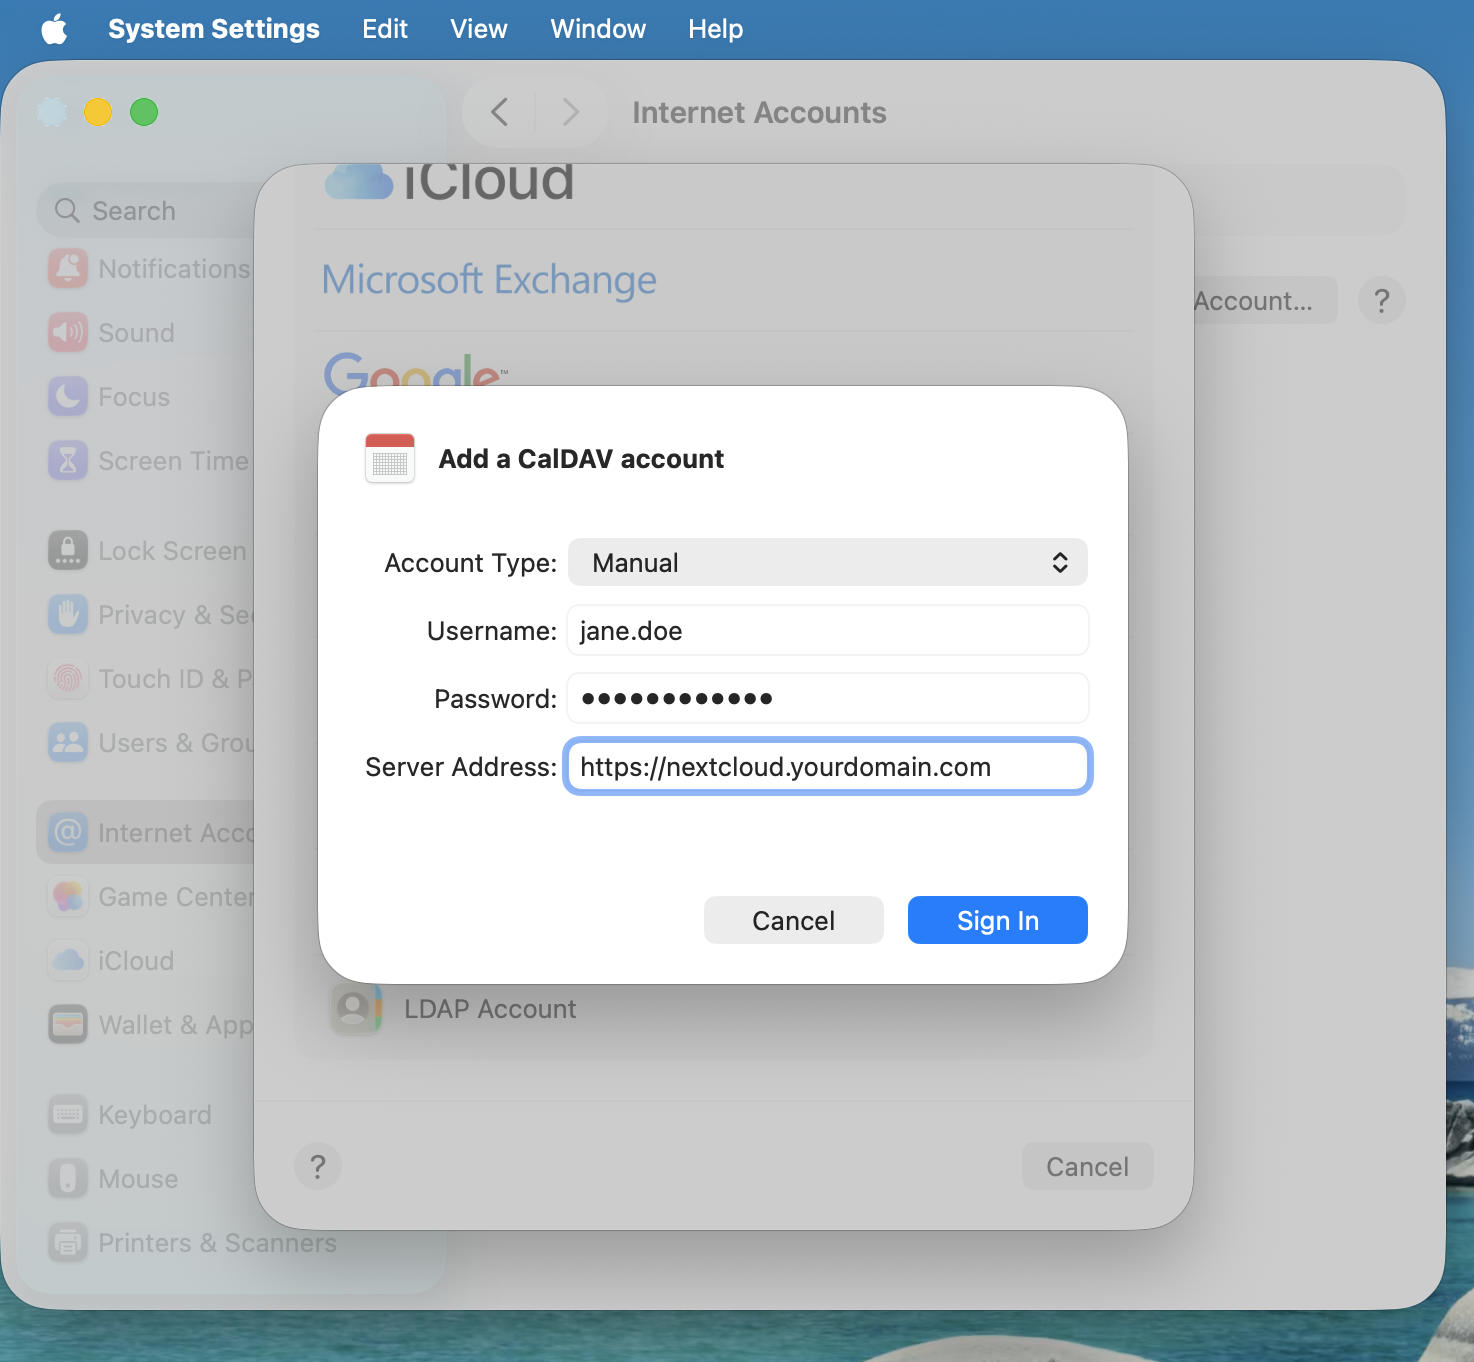
Clique em Iniciar Sessão.
Resolução de problemas
O macOS não oferece suporte para sincronização CalDAV / CardDAV em conexões
http://não criptografadas. Certifique-se de terhttps://habilitado e configurado no lado do servidor e do cliente.Certificados autoassinados precisam ser configurados corretamente no chaveiro do macOS.