Sincronizzazione con Thunderbird
Thunderbird è un client di posta ricco di funzionalità e maturo che può essere trasformato in un Personal Information Manager (PIM) a tutti gli effetti. Dalla versione 102, supporta la sincronizzazione della rubrica tramite CardDAV e la scoperta automatica di calendari e rubriche disponibili sul server.
Metodo consigliato
A partire da Thunderbird 102, i protocolli CardDAV e CalDAV sono supportati in modo nativo.
Contatti
Nella visualizzazione della rubrica, fare clic sulla freccia rivolta verso il basso accanto a Nuova rubrica e scegliere Aggiungi rubrica CardDAV.
Nella finestra successiva, digita il tuo Nome utente e la Posizione (URL del server).
Nella finestra successiva ti verranno richiesti nome utente e password per questo account.
La finestra precedente verrà aggiornata e ti chiederà quali rubriche desideri sincronizzare.
Seleziona e poi clicca su Continua.
Se in seguito vorrai aggiungere una nuova rubrica, potrai ripetere tutti questi passaggi: verranno suggerite solo le rubriche non ancora sincronizzate.
Nota
ISe il tuo account utilizza l’autenticazione a due fattori, hai bisogno di una password dell’app dedicata per l’accesso anziché la tua normale password.
Calendari
Vai alla visualizzazione del calendario in Thunderbird e seleziona il pulsante Nuovo calendario… nella parte inferiore del pannello laterale sinistro.
Seleziona Sulla rete:
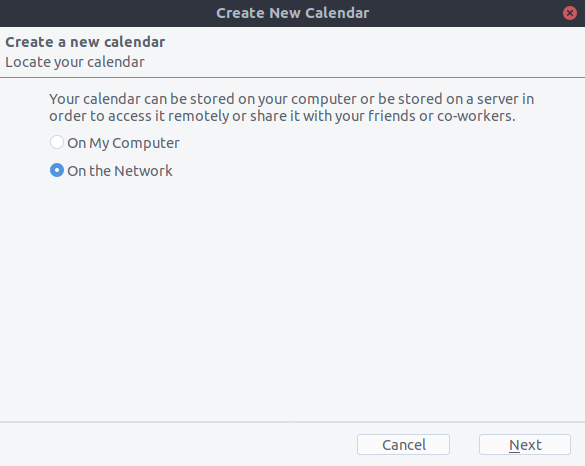
Digita il tuo Nome utente e la Posizione (URL del server), quindi fai clic su Trova calendari.
Scegli i calendari che vuoi aggiungere e clicca su Iscriviti
Stessa cosa qui, se in seguito vuoi aggiungere altri calendari, basta ripetere la procedura.
Alternativa: usare il componente aggiuntivo CardBook (solo Contatti)
CardBook è un’alternativa avanzata alla rubrica di Thunderbird, che supporta CardDAV.
Fai clic sull’icona di CardBook nell’angolo in alto a destra di Thunderbird:

In CardBook:
Vai a Rubrica > Nuova rubrica Remota > Avanti
Seleziona CardDAV, inserisci l’indirizzo del tuo server Nextcloud, il tuo nome utente e la password.

Fai clic su «Conferma», fai clic su Avanti, quindi scegli il nome della rubrica e un altro clic su Avanti:

Al termine, CardBook sincronizzerà le tue rubriche. Puoi sempre avviare manualmente la sincronizzazione cliccando su «Sincronizza» nell’angolo in alto a sinistra di CardBook:
