Synchroniser avec macOS
Paramétrer vos Comptes
In the following steps you will add CalDAV (Calendar) and CardDAV (Contacts) to your macOS integrated Calendar and Contacts applications. At the time of writing this guide, macOS is at version 26.3.1.
Click on the Apple logo in the top left corner of your screen and select System Settings… from the dropdown menu.
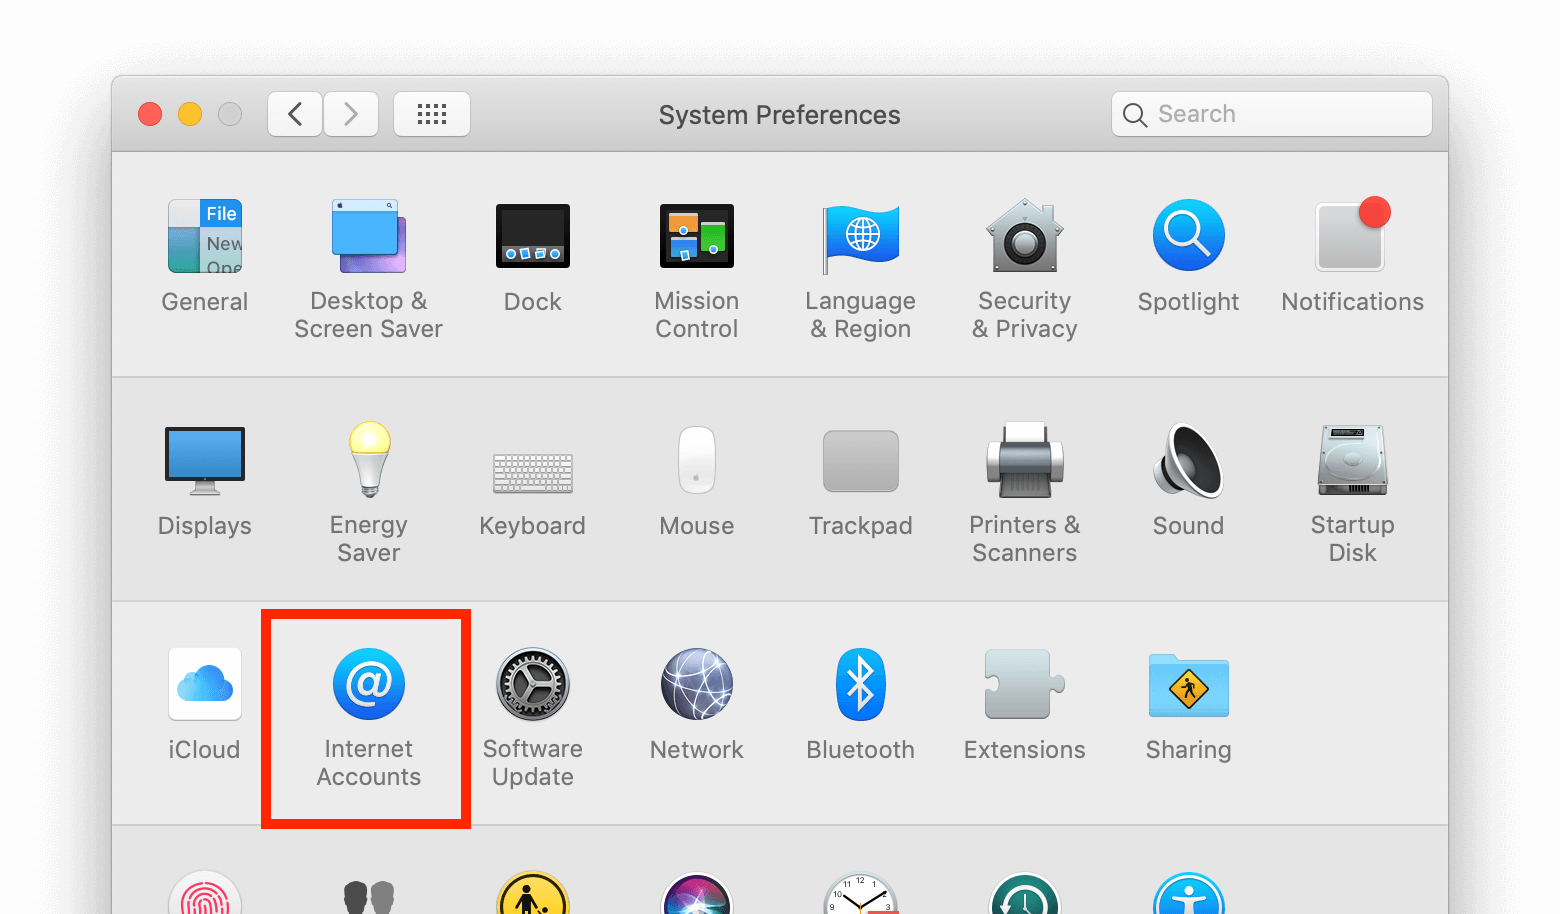
Sélectionnez Comptes Internet
Click on the small blue choose from a list.
Click on add Other Account…
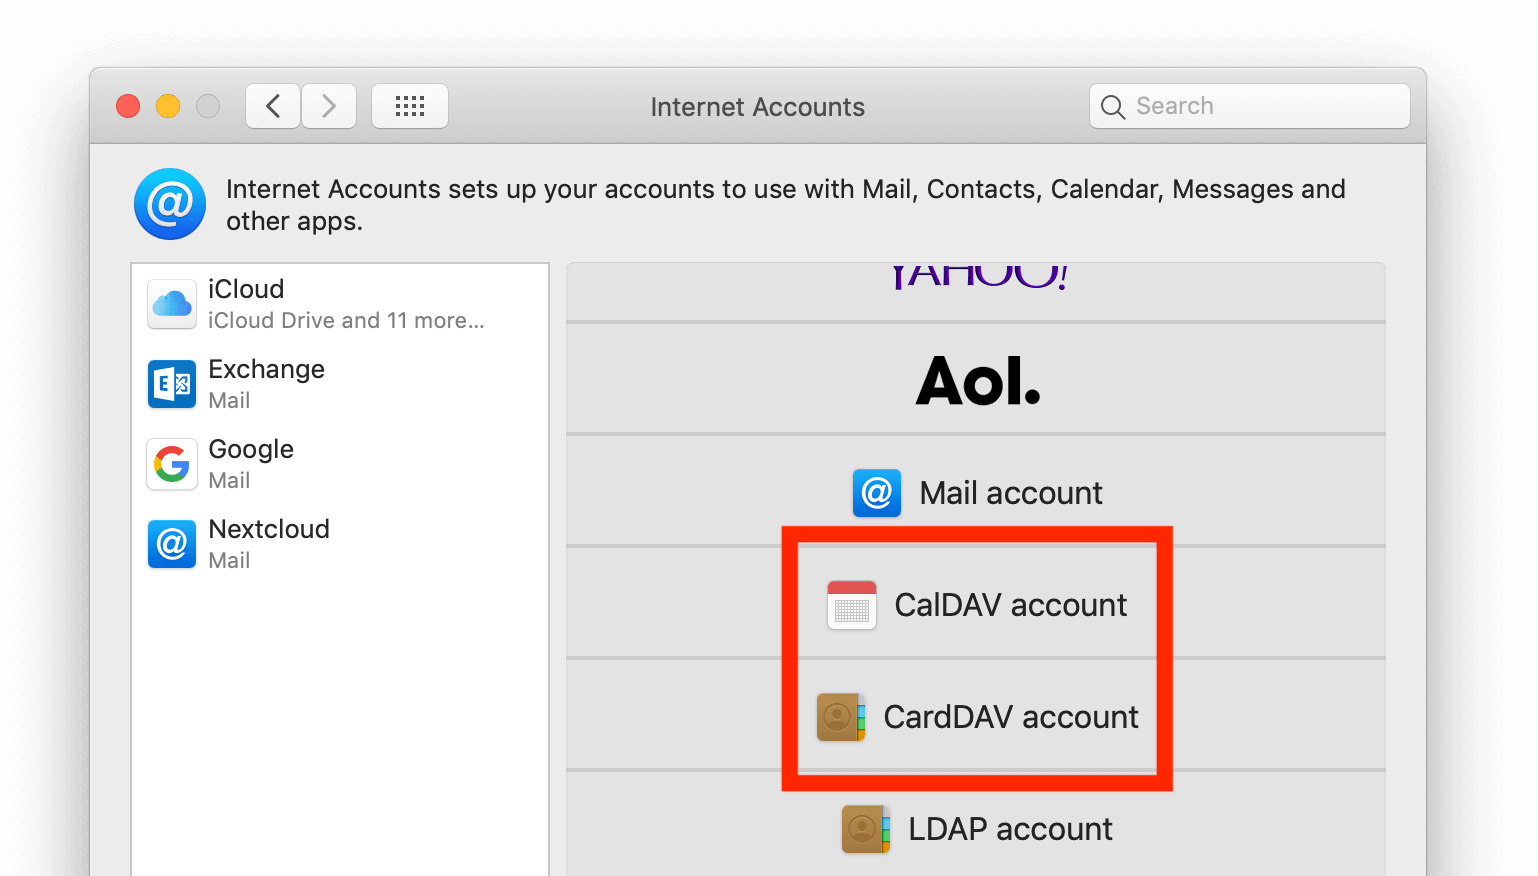
Select CalDAV Account for calendar and CardDAV Account for contacts.
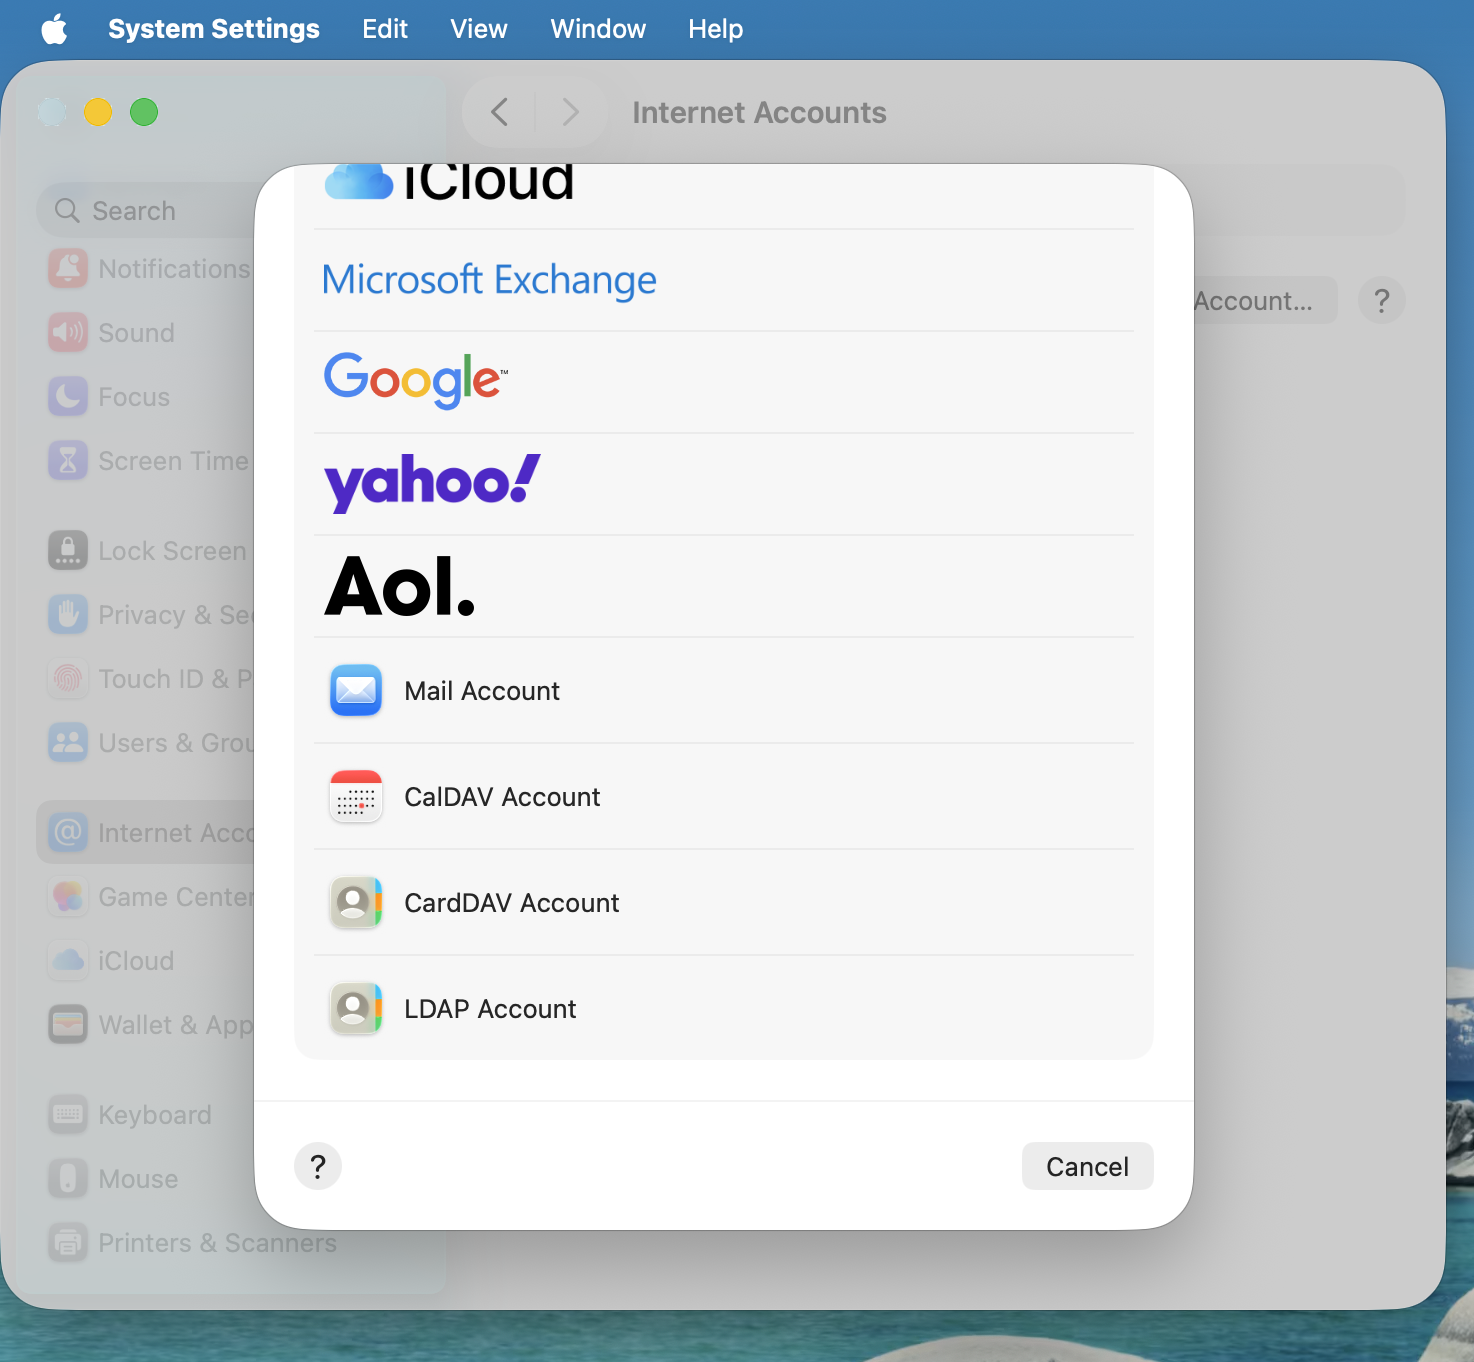
Note
You can not setup Calendar/Contacts together. You need to setup them separately.
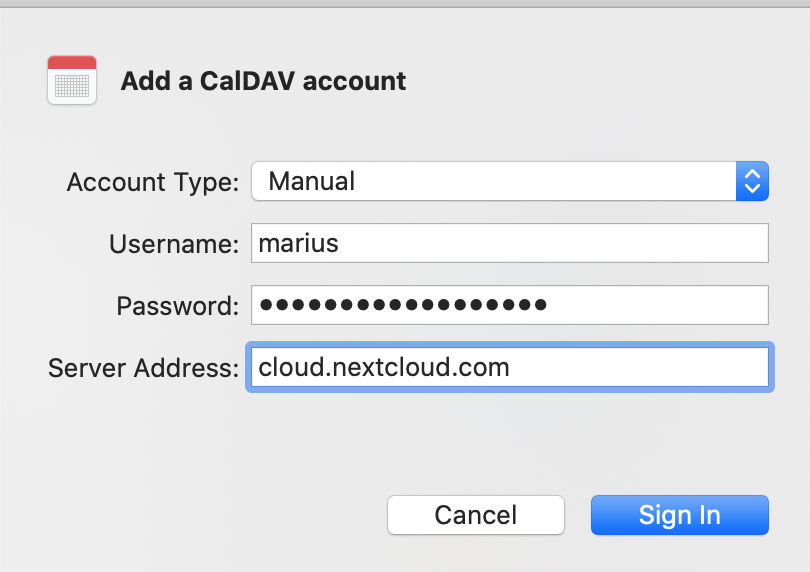
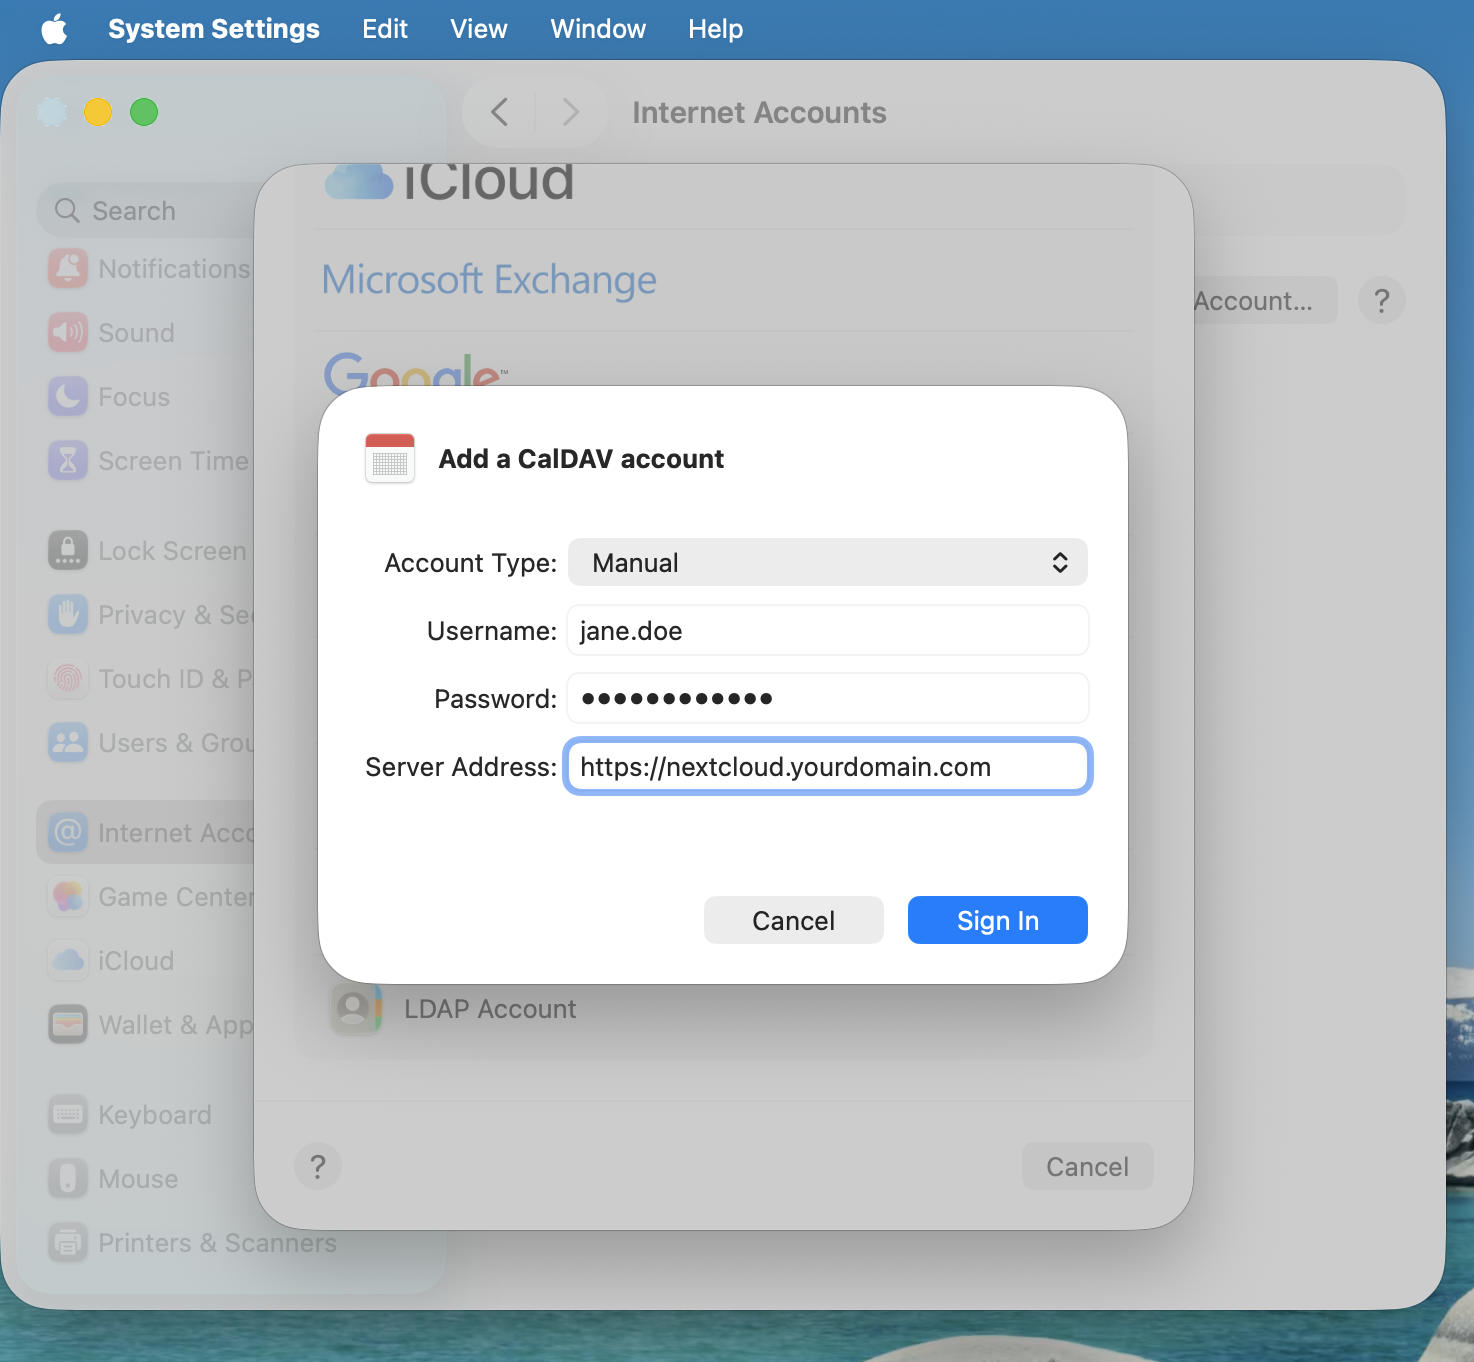
Select Manual as Account Type and type in your respective credentials:
« Adresse e-mail »: Votre nom d’utilisateur Nextcloud ou e-mail
Password: Either your password or if you use 2FA your generated app-password/token (Learn more).
Server Address: URL of your Nextcloud server (e.g.
https://nextcloud.yourdomain.com)
Cliquer sur « Connecter »
Résolution de problèmes
macOS ne supporte pas la synchronisation CalDAV/CardDAV avec des connections non cryptées http://. Assurez vous d’avoir paramétrer la connection avec « https:// « sur votre serveur et votre client.
Les certificats autosignés doivent être correctement configurés dans le porte clé de macOS.